
Metal Shaping Course Poundin’ Steel 101


Many motorcyclists are of an inquisitive nature. When they first take possession of a new or used bike, most will go over it with a fine-tooth-comb looking for marks, scratches or mechanical flaws or imperfections that should be addressed. To the passionate, this is a ritual that takes precedence over life’s important tasks like washing the car, taking the garbage out, or going shopping with your spouse.
When it comes to their two-wheeled pride and joy, many riders prefer to do their own maintenance when they can. These are hands-on people and maybe even a little crafty in that they would like to produce their own trinket or two for their motorcycle. For those of you who have attempted to create a custom piece, you can attest to the satisfaction and pride you feel when you complete the project.
Years ago I made a set of forward controls for a motorcycle I owned, and in my mechanic days made many little parts here and there, beginning as prototypes and refining them until they worked perfectly. One thing I have never had the opportunity to try but always wanted to is shaping metal. These days, so many body panels are stamped out of a press at an unbelievable rate, but it wasn’t always like that. There was a time when parts were hammered by hand and the end result was as close to perfect as one could get. The men who did this type of work were skilled tradesmen but today, this skill is somewhat of a dying art.
While metal shaping is becoming a lost craft, there are still people who are keeping the skill alive and one such person is offering to train anyone who is interested. Even if you have never picked up a hammer, you can learn how to make these panels yourself from a true craftsman. Maybe you’ve thought about shaping a special fender or gas tank for your motorcycle, or repairing a rusted fender for a vintage car. An aircraft body panel or even medieval armour is not out of the question with the knowledge you can glean from John Crossley.
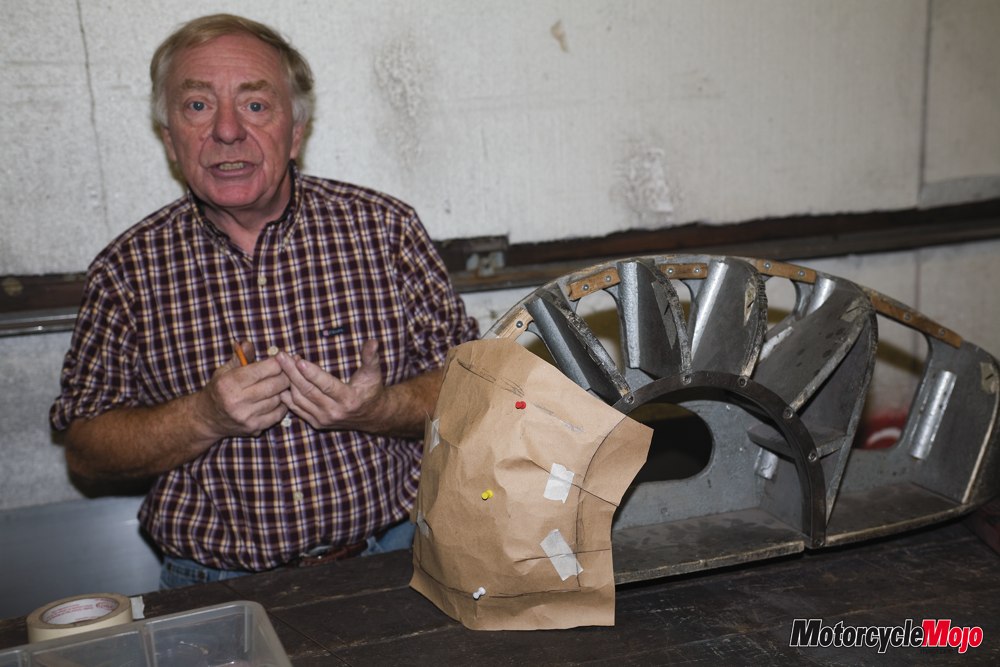
John is one of the most interesting men I have had the pleasure of meeting and he’s not a stranger to knowing steel, after all he’s been shaping it for the last 40 years. He holds a PhD in Metallurgical Engineering from Darmstadt University in Germany and a PhD in Mechanical Engineering from Cornell University in New York State. He was a three-time Olympic competitor in short distance running and still trains athletes who will be competing in the 2008 Olympics in Beijing, China. Both his mother and father raced as a sidecar team on the Isle of Man until a ruling came into effect in the 50’s that family members cannot race on the same team. John himself used to race sidecar Trials motorcycles. Now that has to be one of the craziest rides going! His father was an engineer who collected cars and John also has quite a collection of cars and motorcycles himself. His great grandfather’s brother started Crossley cars in England, a company that continued to produce cars, trucks, busses and industrial engines until the company was sold to British Leyland in 1964. And he is an accomplished automobile artist. Once in a while he will help out at the University of London in Ontario and is involved in developing prosthetics that can be controlled by the body’s own nerve impulses. To say John has a few stories would be a gross understatement.
John apprenticed in England as a metal shaper during his younger years and for the past ten years or so he has been passing his skill to others in the hopes that the specialized trade doesn’t die completely. “There isn’t an apprenticeship programme in Canada like we had in England. I apprenticed as a Metal Shaper and that was my job. Here, the apprenticeship falls under Sheet Metal Worker and those people apprenticing may never have the opportunity to shape a fender or a gas tank,” John said. Sheet metal work today might consist of ductwork, siding or soffit creation.
John holds his two-day weekend courses in his modest home workshop. Apart from a few specialized tools, it’s a shop similar to many others; workbenches, toolboxes, pictures and calendars of cars and motorcycles on the walls. One difference is that some of these pictures of vintage or classic racecars are of John’s own paintings. Like his metal creations, they are in perfect proportion and it’s hard to believe they are paintings and not photographs of the real thing. Over the years the shop has had additions built onto it as space is needed and there is plenty of room for four students at each course.
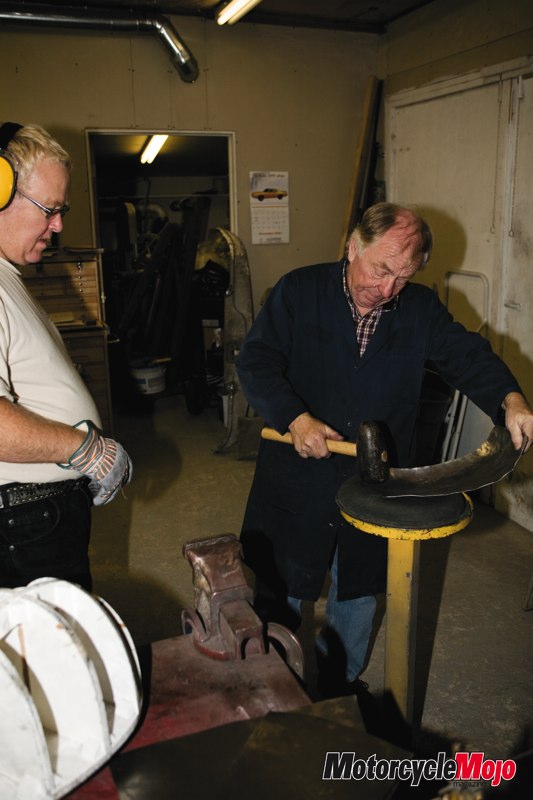
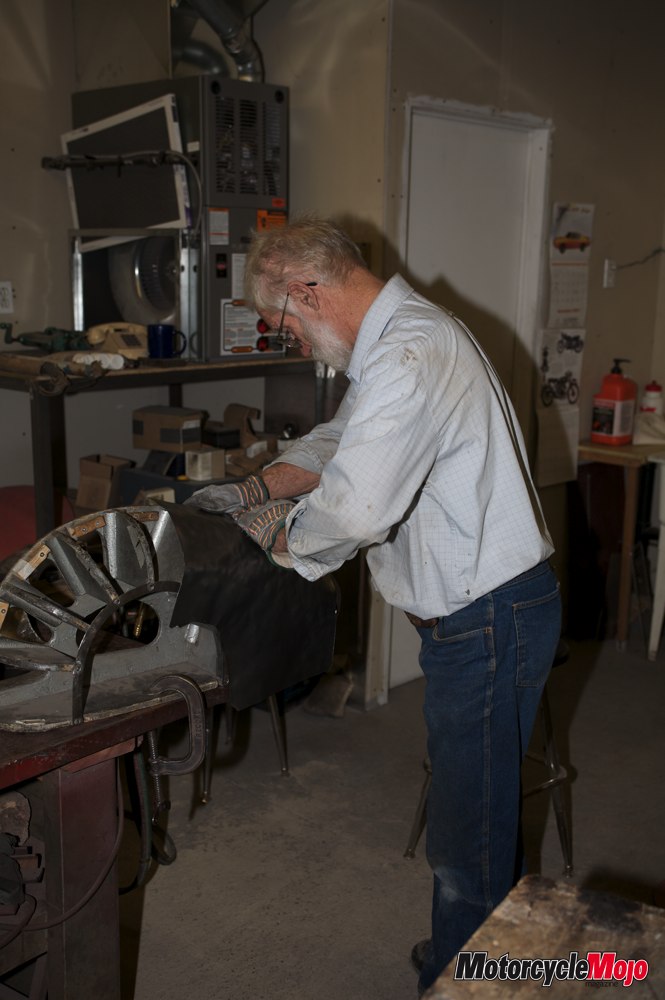
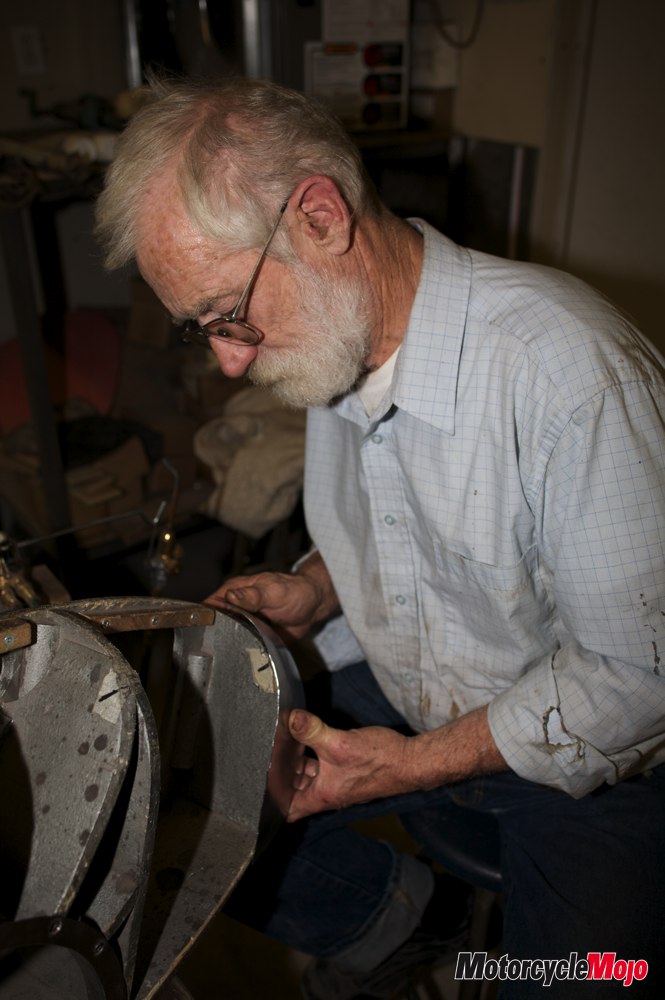
In one corner of the shop is one of John’s ongoing projects, a ‘40’s something Cab-over truck that is undergoing major changes to its personality and appearance. In another corner leans a badly rusted fender with John’s newly shaped headlight portion ready to be welded in. I inspected this piece quite closely and although John showed me where he welded the shapes together, I couldn’t see any sign of welds and the surface was so smooth there was no need for body fill. On one side of the room there are welding stations, in the centre are a few pedestals adorned with leather bags filled with lead-shot waiting to be pounded on, while mallets lay on a nearby workbench waiting to be picked up and abused.
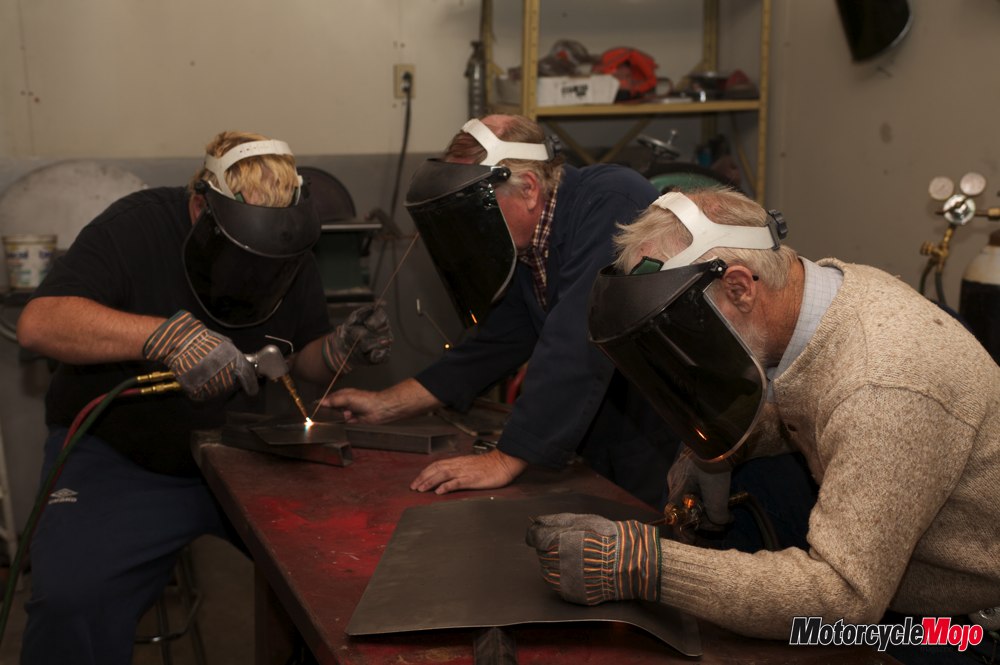
John’s two-day course is restricted to four students at a time. This guarantees one-on-one instruction and the students aren’t bumping into one another. I met my classmates, Randy and John; the fourth student didn’t show up for the course so there would only be three of us in training mode this weekend.
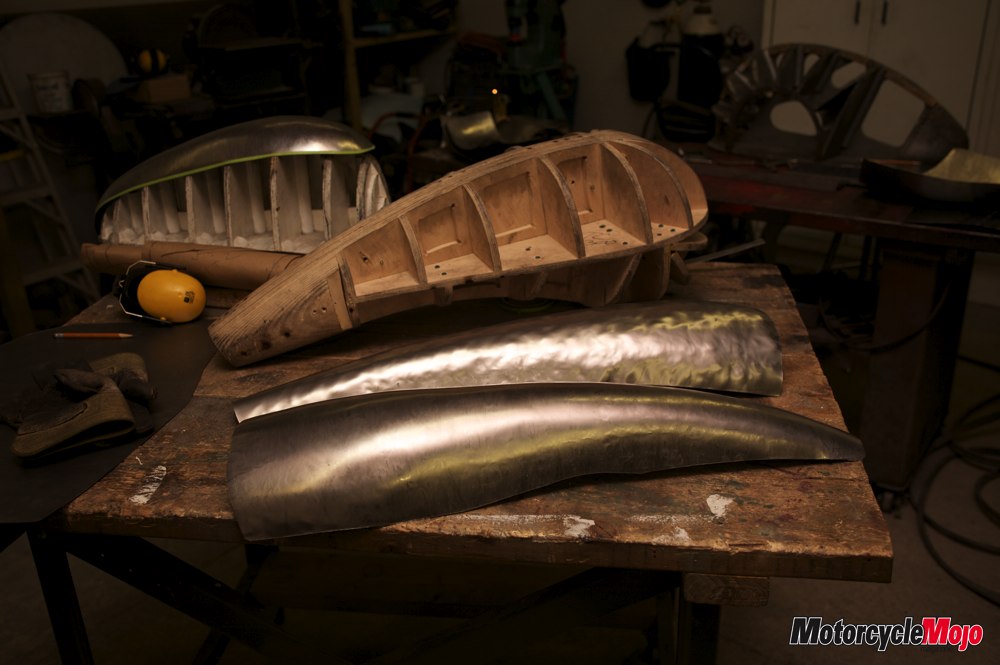
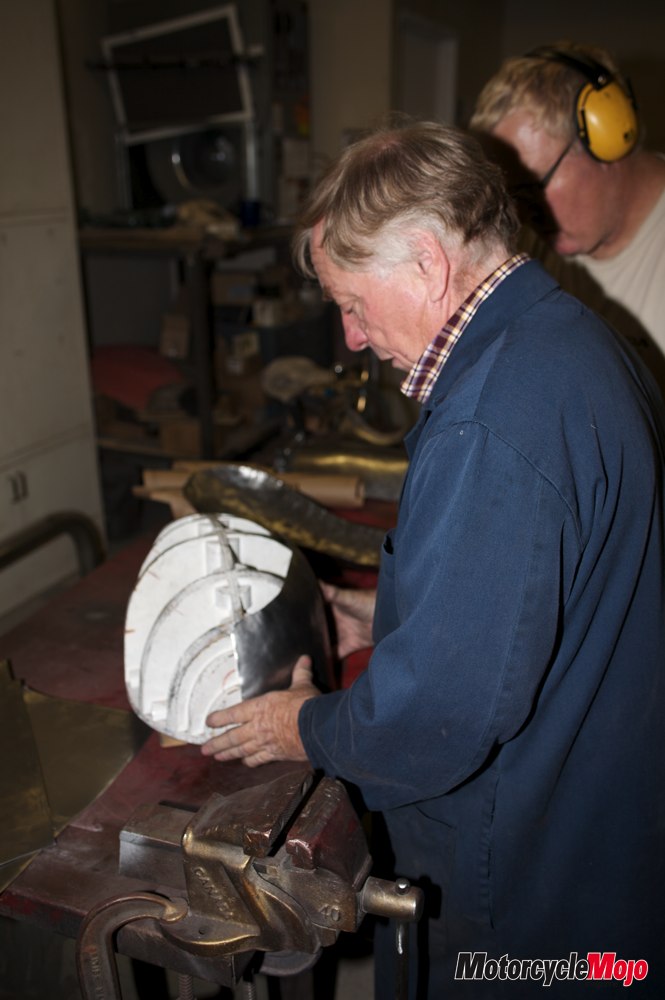
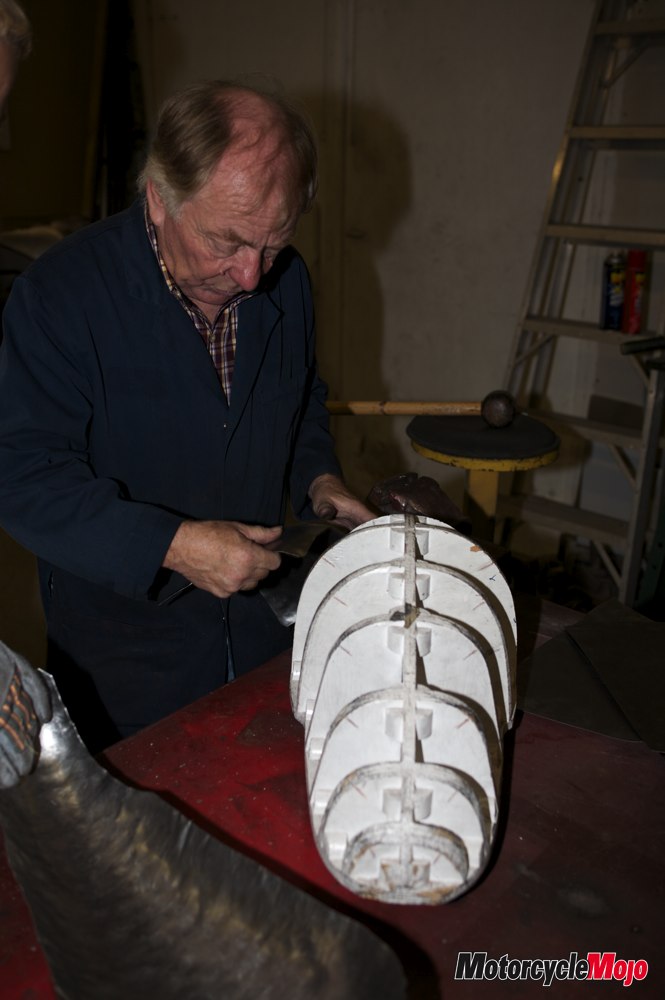
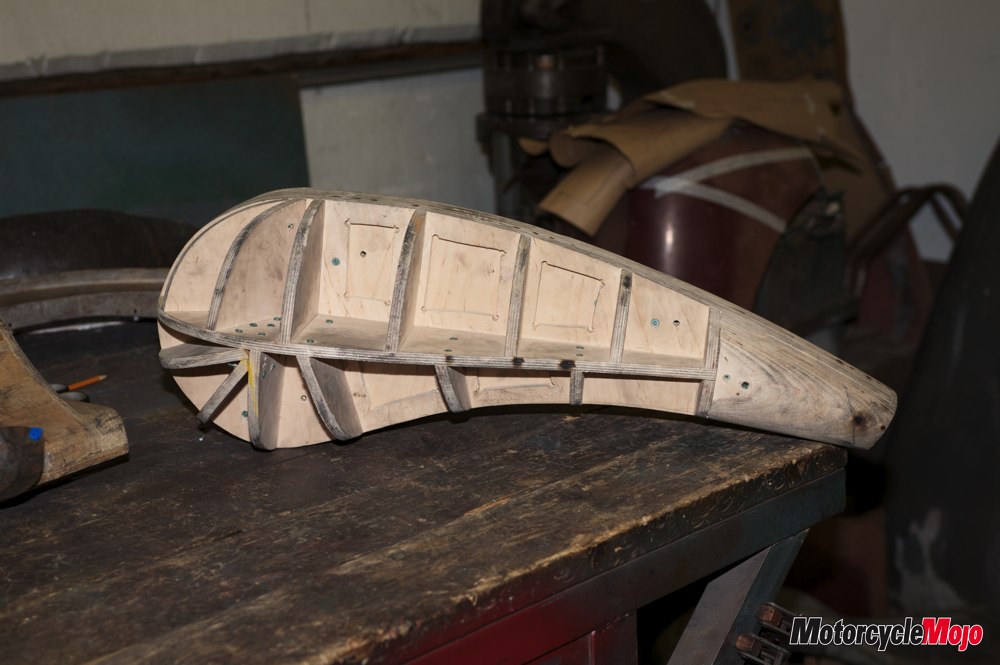
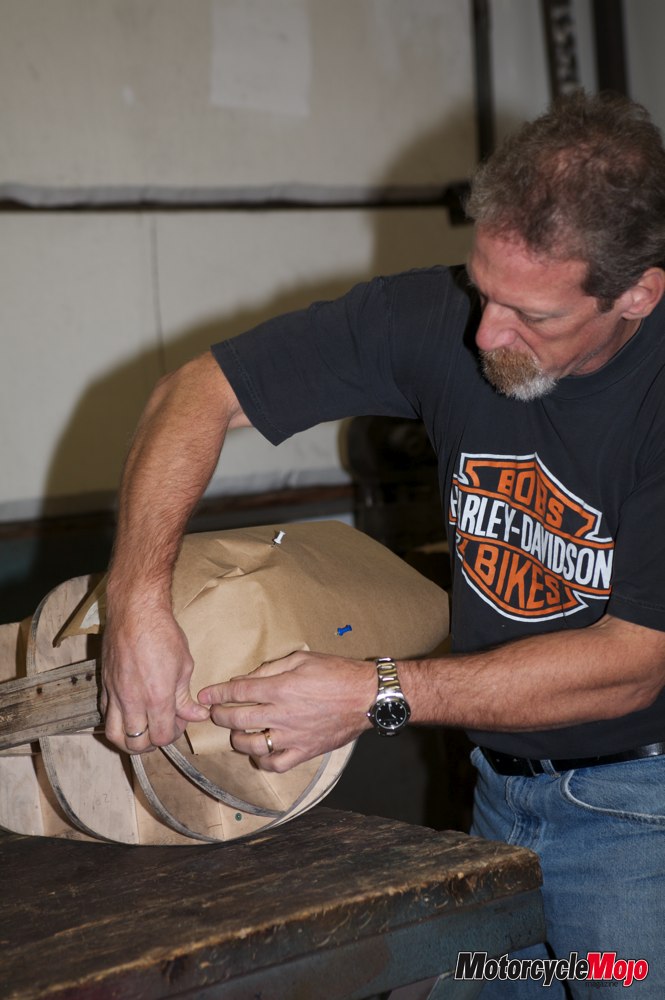
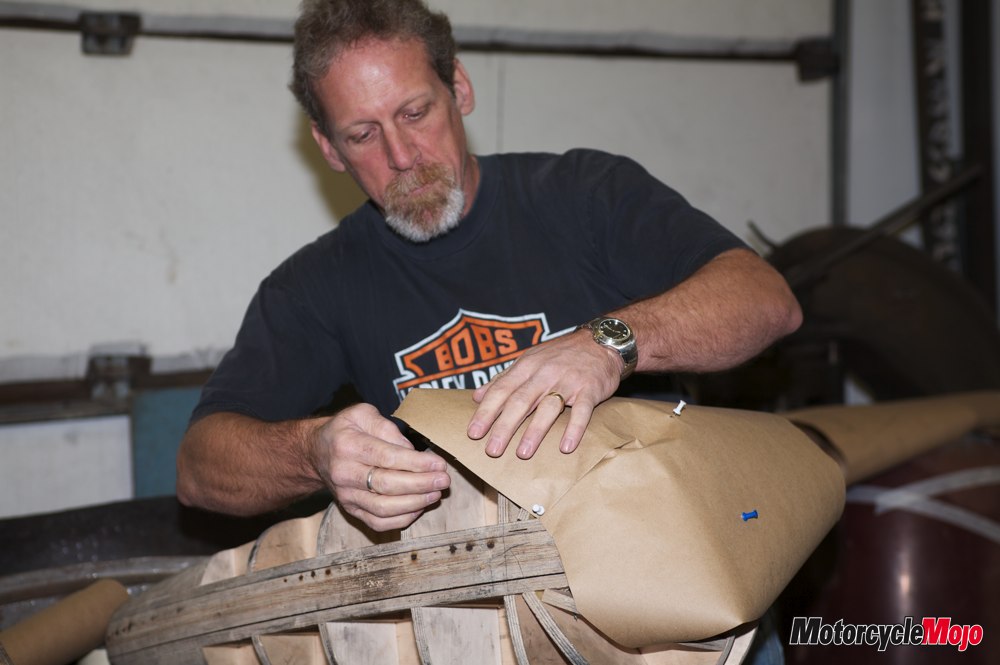
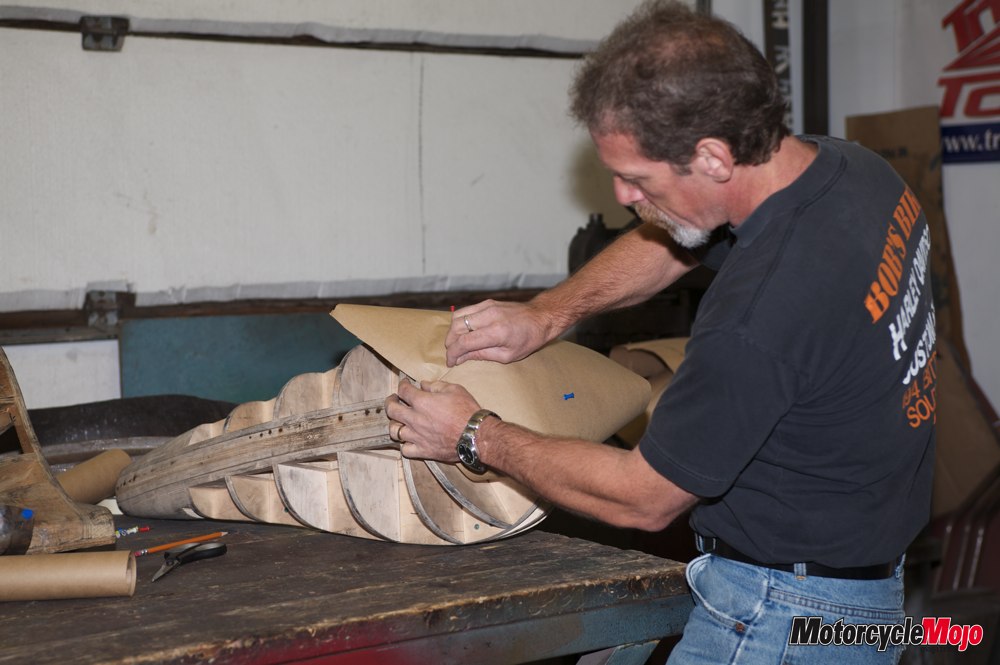
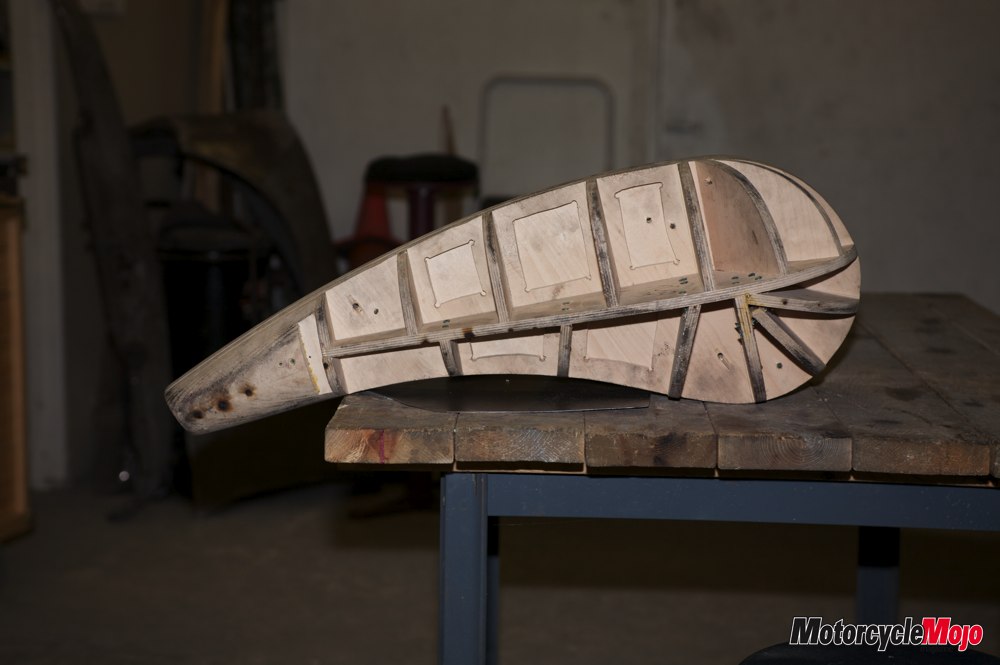
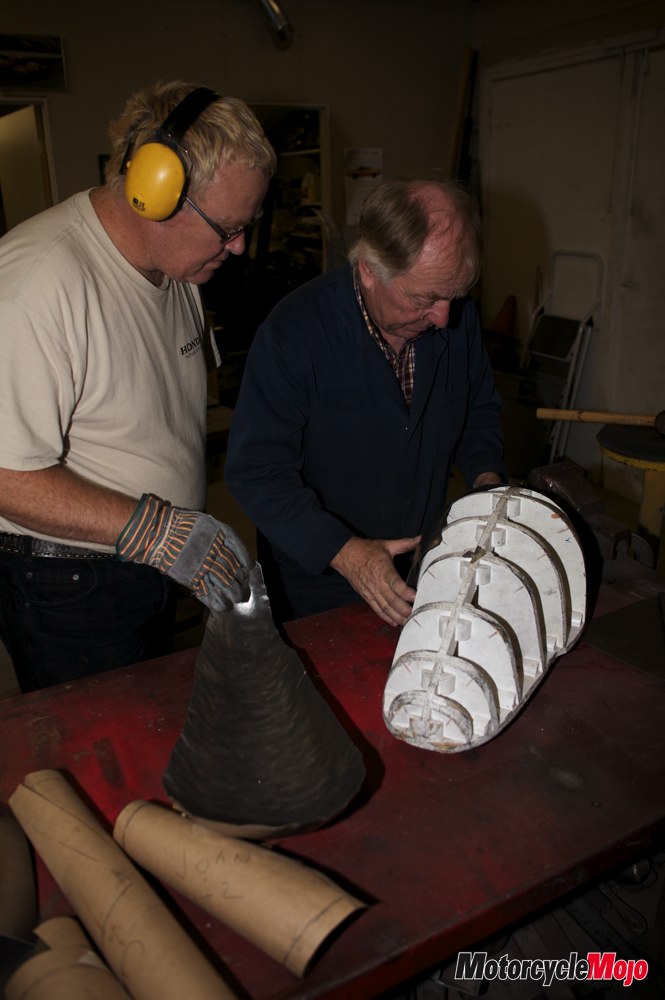
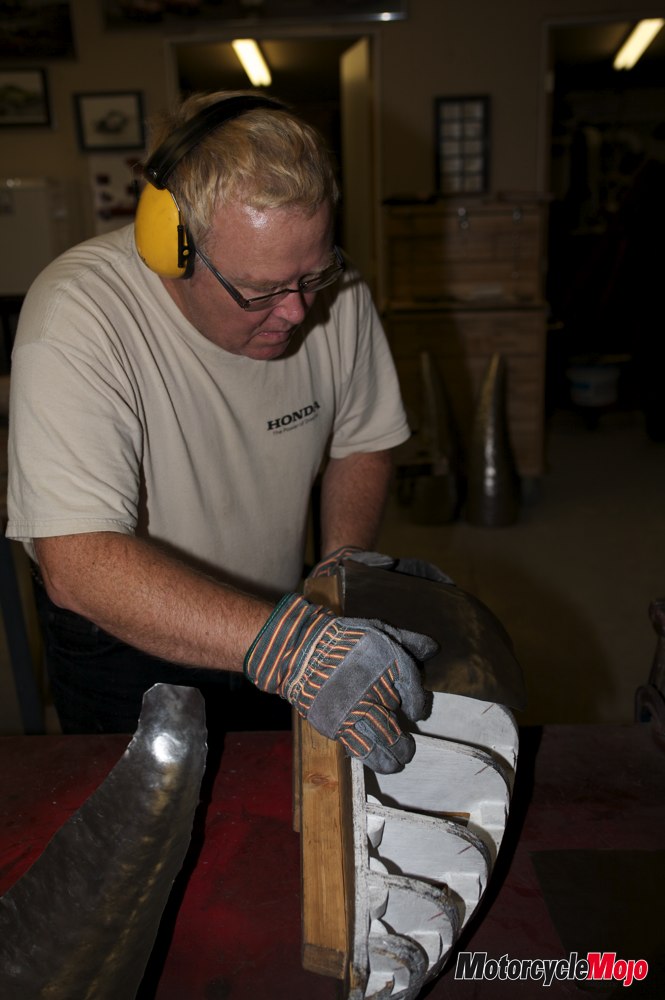
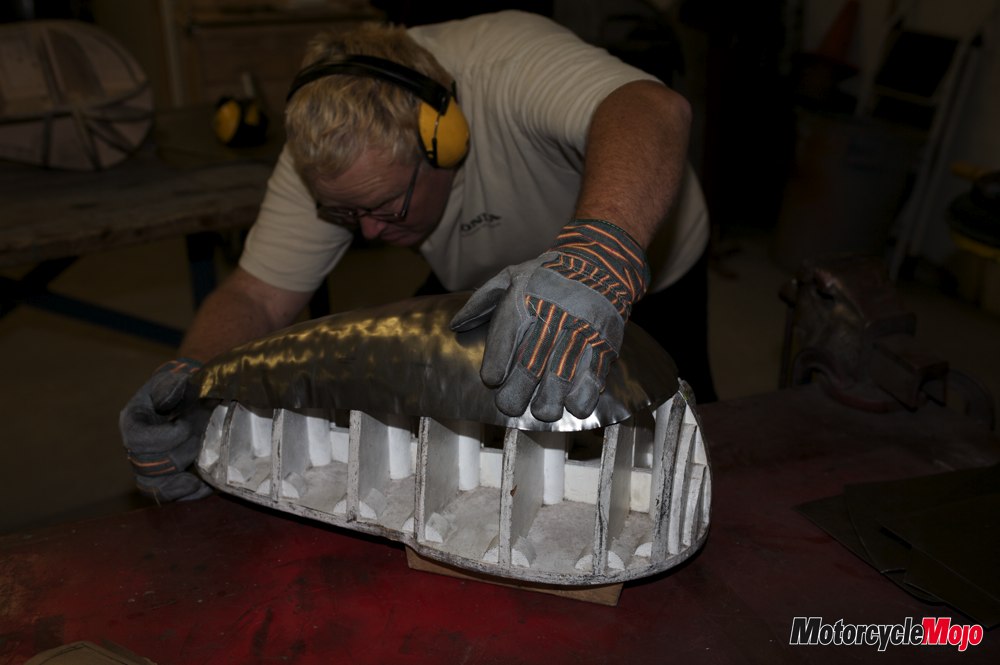
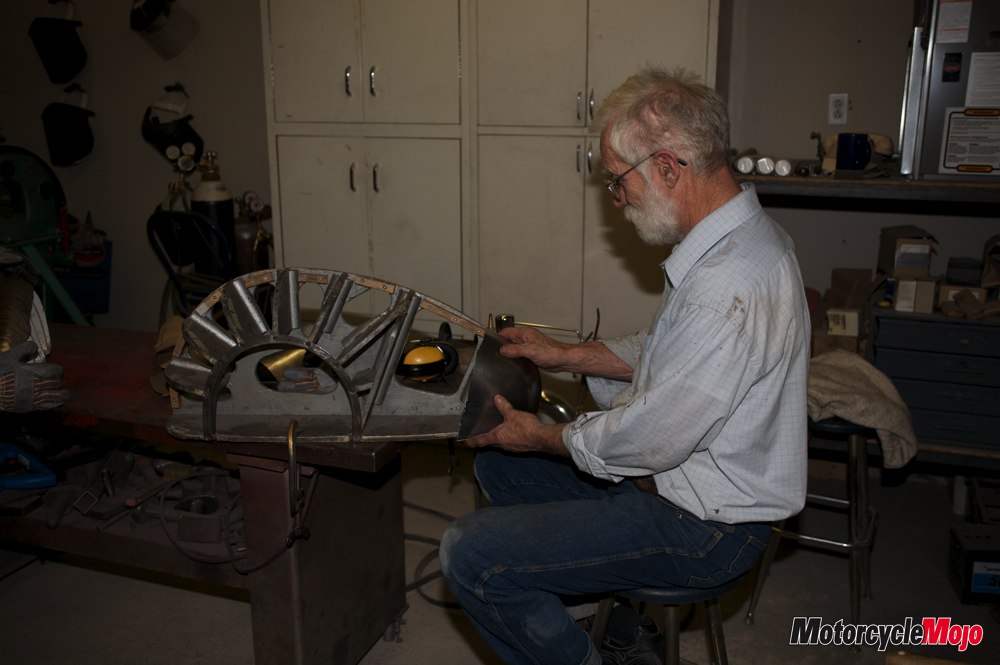
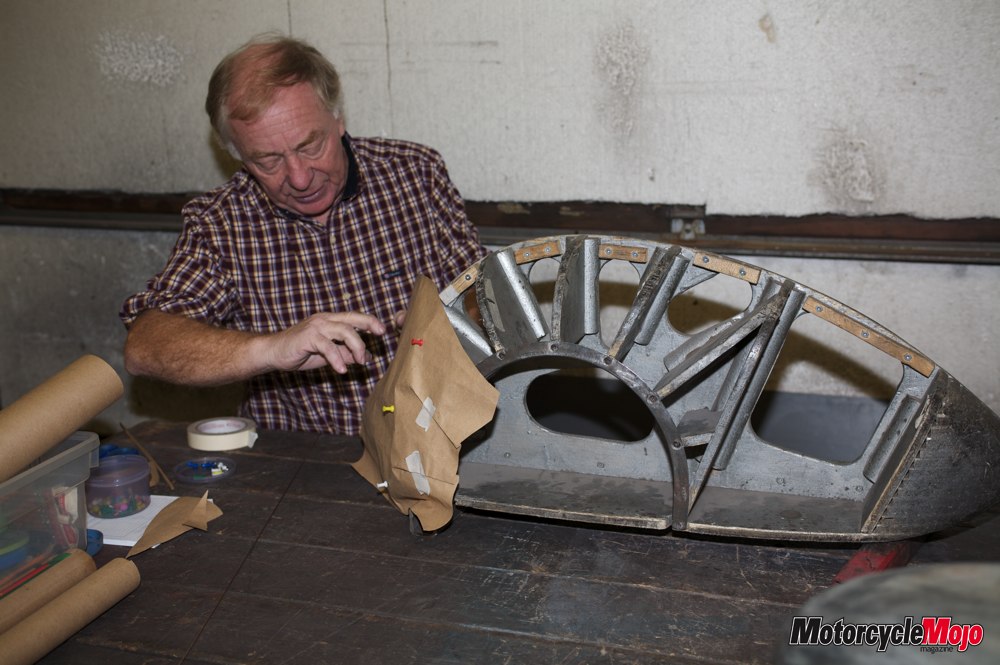
The lesson began early Saturday morning with a coffee and John explaining proper terminology, like ‘shaping metal’, not forming, and other important words John felt compelled to tell us. He then quickly moved on to explain the various ‘bucks’ available to us, and the basis of our chosen weekend project. ‘Bucks’ are the three-dimensional patterns we used to shape our steel onto, and we would refer to the bucks constantly for proper shape and fit of our battered steel throughout the weekend. Students have a choice of a couple of miniature automotive style fenders or the choice of two gas tanks, one British style and the other, a long chopper style. Any piece the student makes is theirs to keep after the course as a souvenir. Incidentally, John’s company, Trident Tool (www.tridenttool.ca) manufactures, amongst other things, Norton Commando and Triumph Trophy fuel tanks for export south of the border and two different styles of fuel tanks to custom bike manufacturer, Livingstone County Choppers, also in the States. Trident Tool also manufactures many tools for the metal shaping trade.
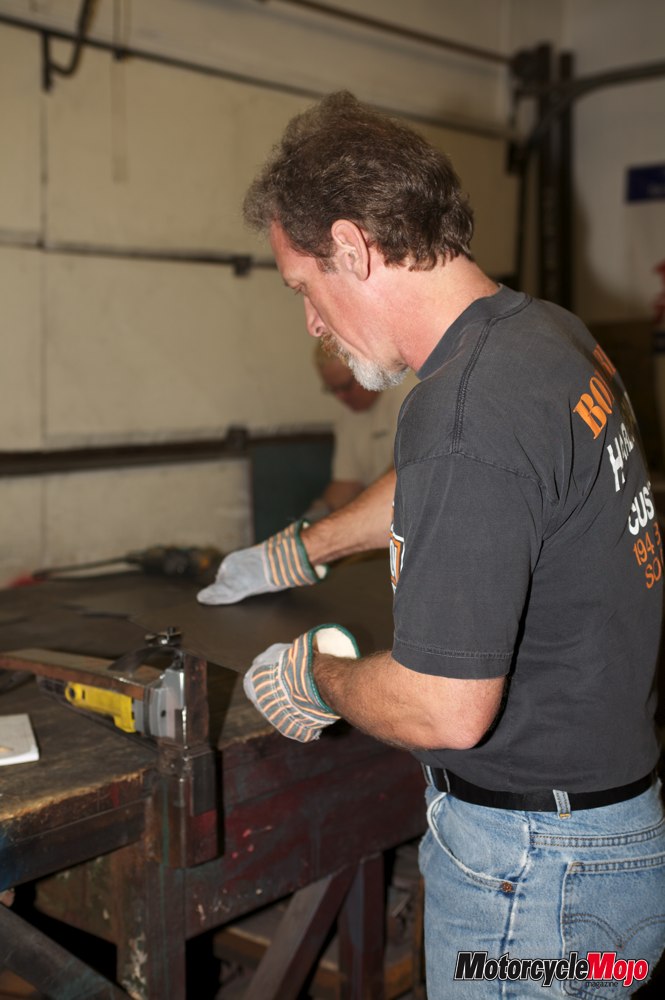
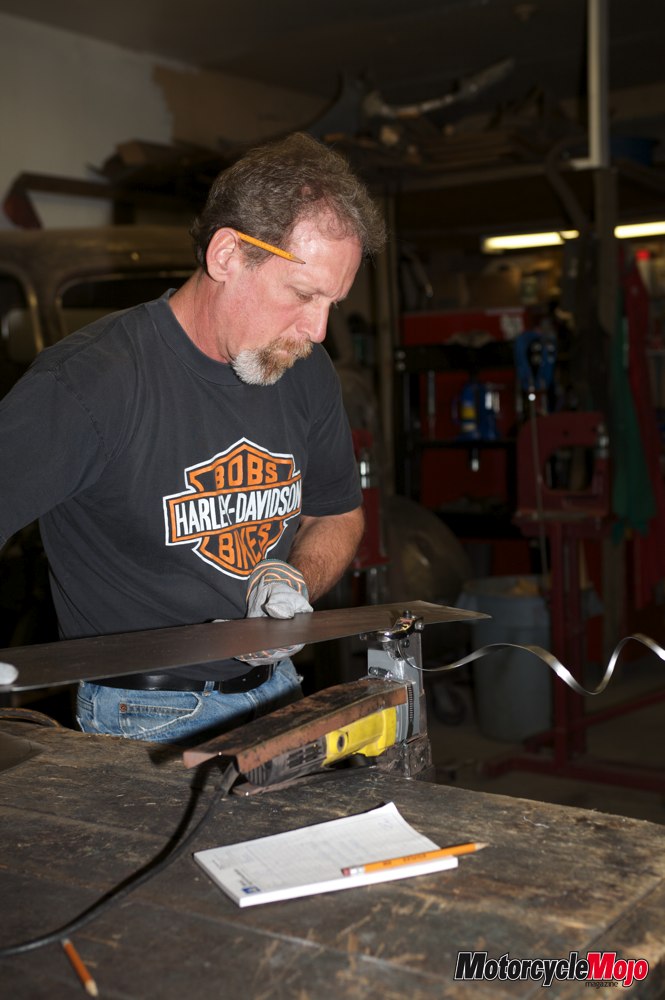
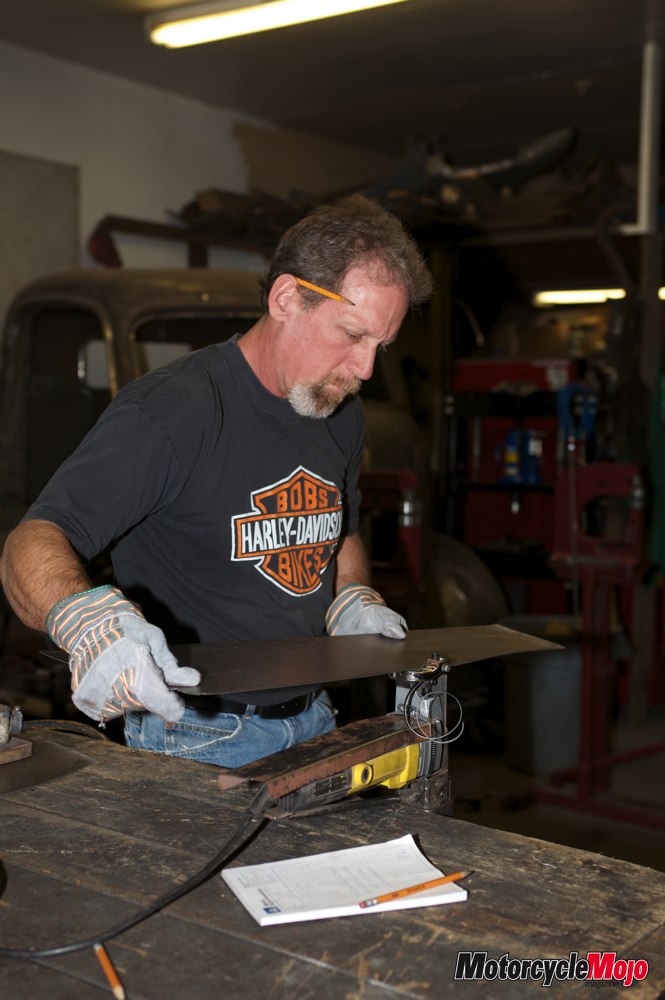
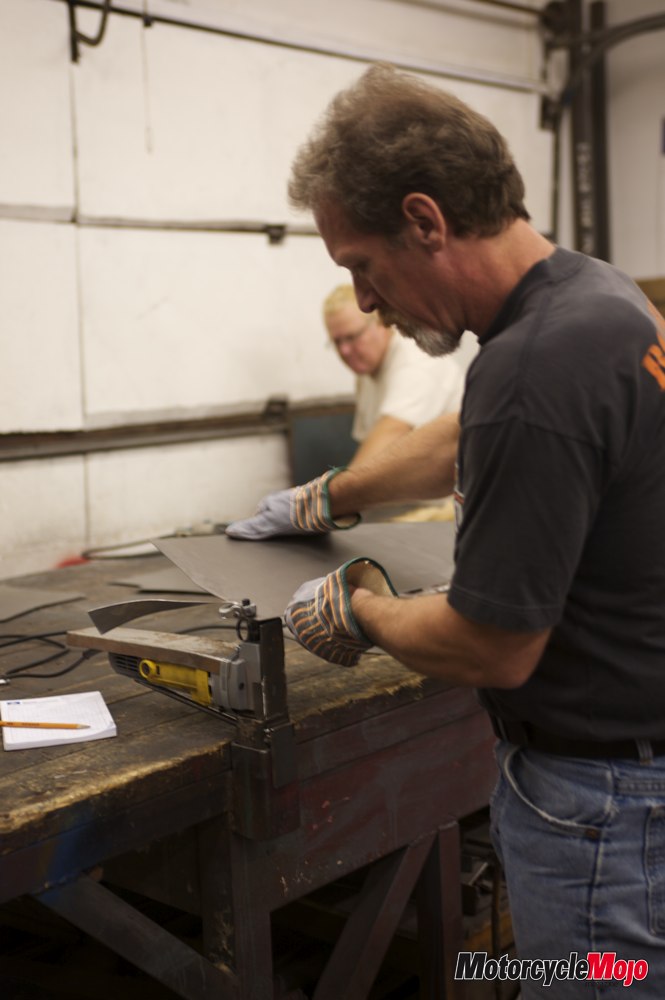
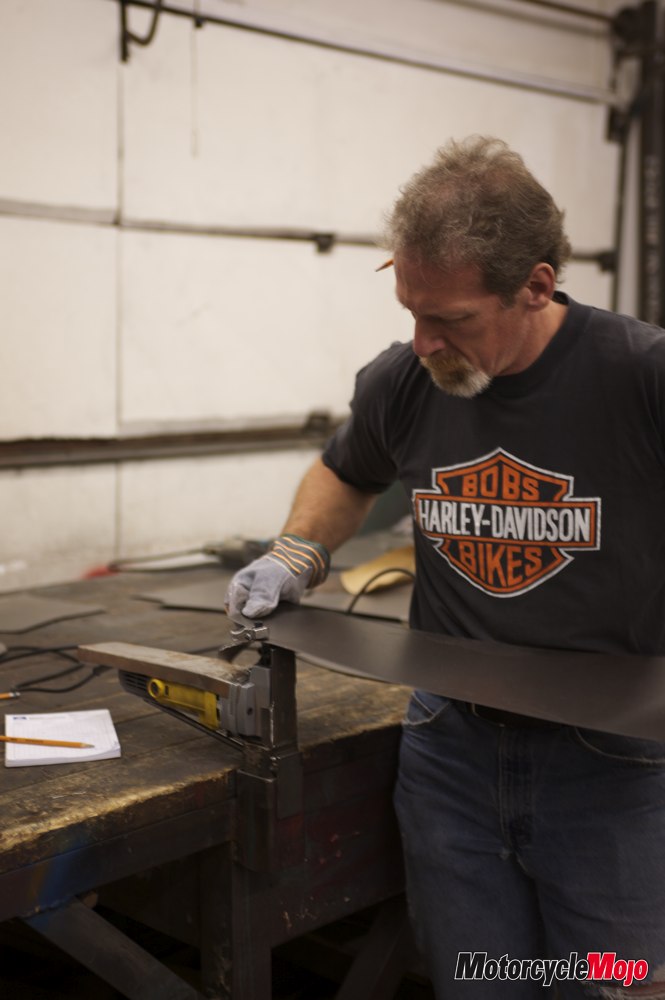
Next, John described options to make our patterns from the bucks and how many pieces of steel our project might take. After a quick pattern making demonstration, we mark out our patterns on paper, transfer them to 20-gauge steel and proceed to cut the multiple pieces from the sheet of steel. This course uses 20-gauge steel for ease of use. The Canadian DOT standard for a motorcycle gas tank is 16-gauge (the lower the number, the thicker it is and therefore harder to work with).
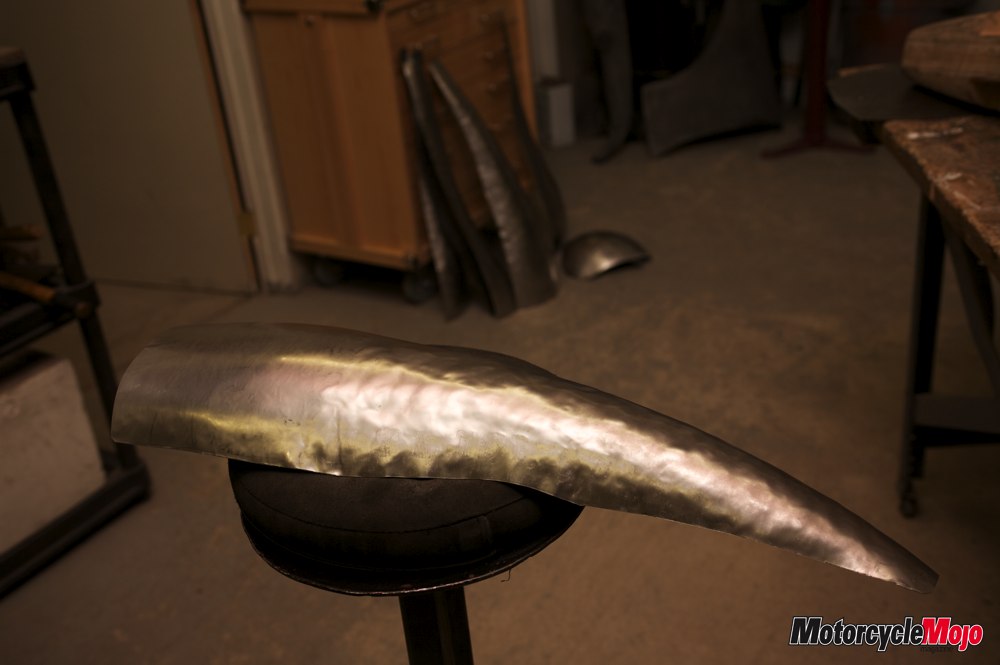
I chose the long chopper gas tank for a couple of reasons; it would look better than a miniature fender hanging on my office wall after it’s painted, and it didn’t look like it would be that hard to do. I would later find out I was so wrong.
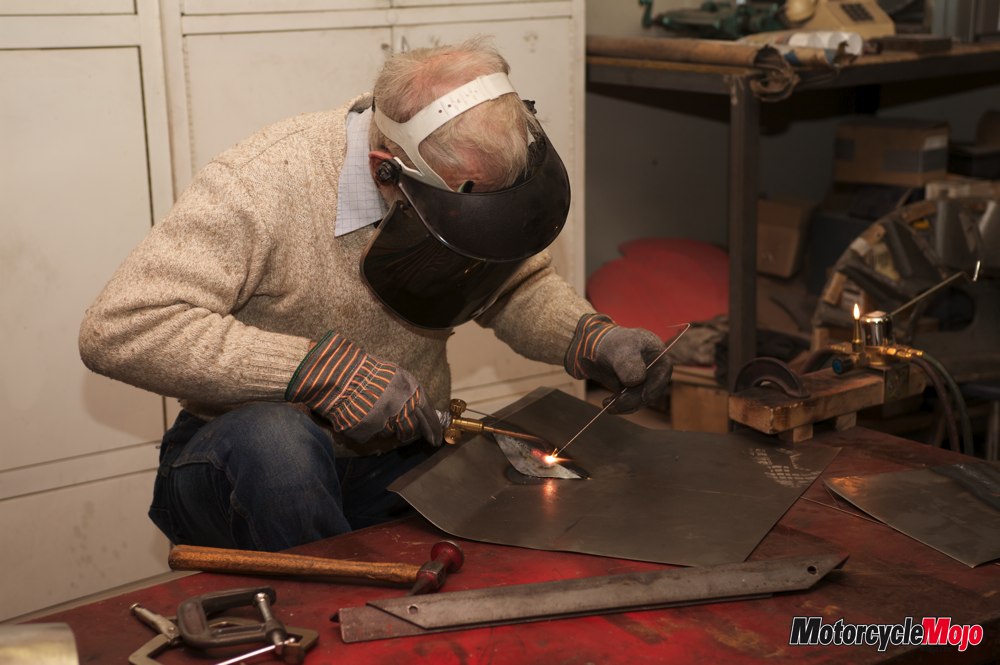
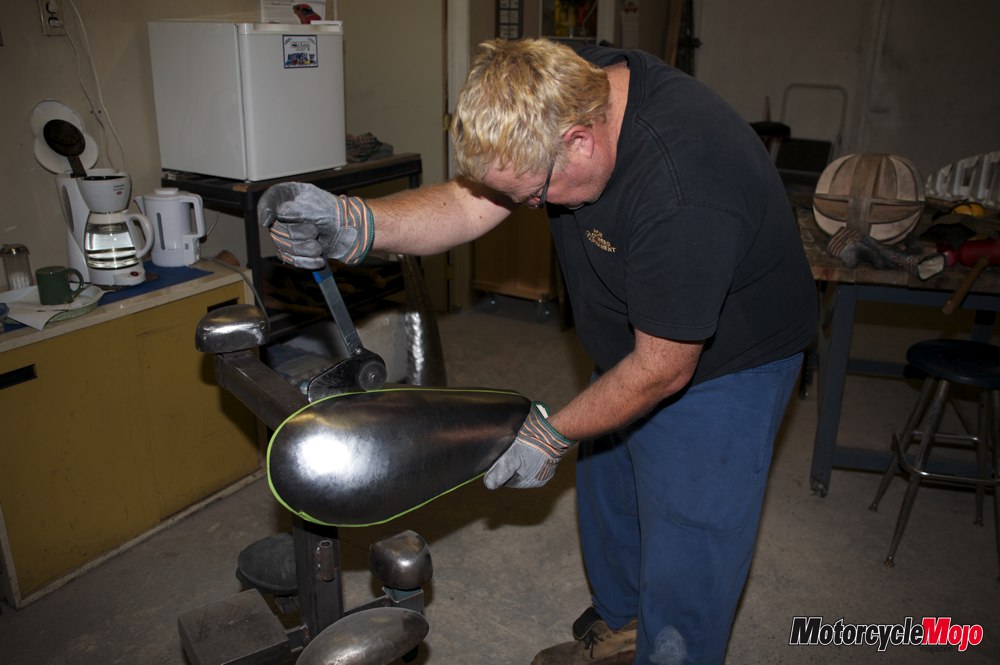
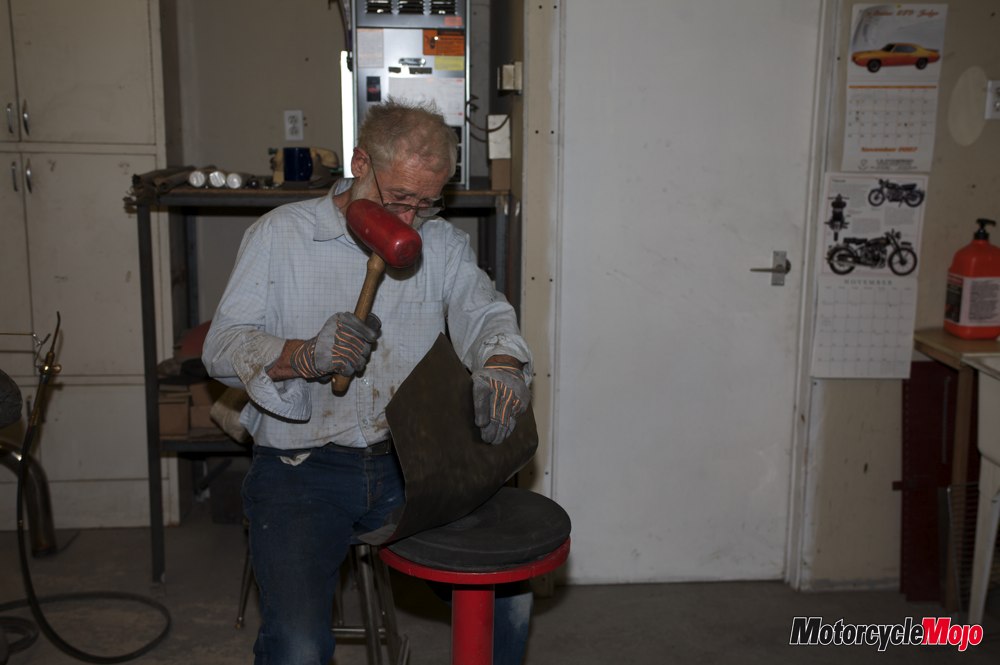
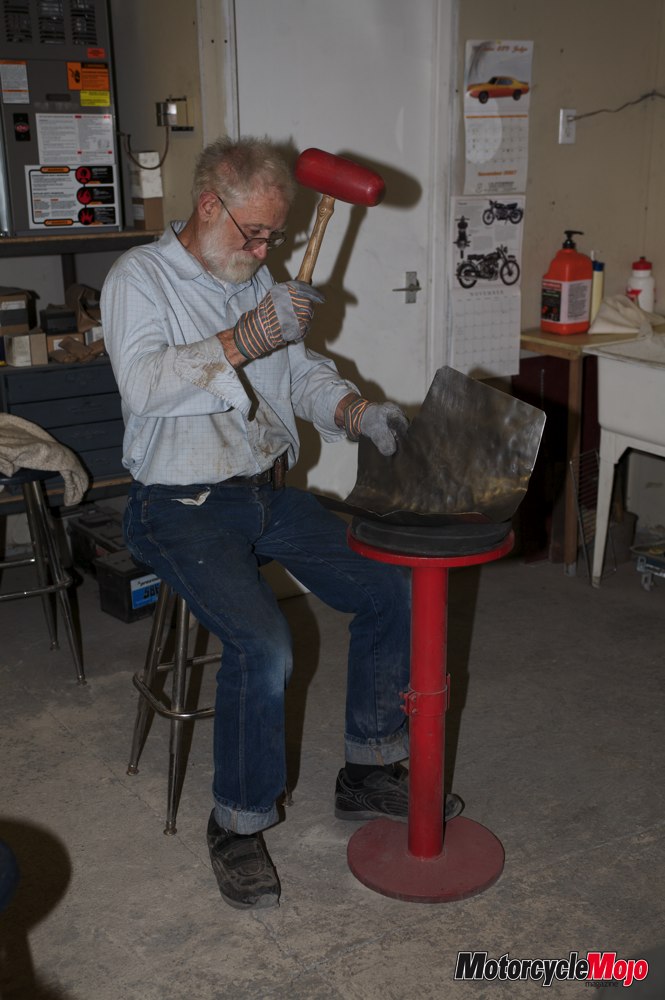
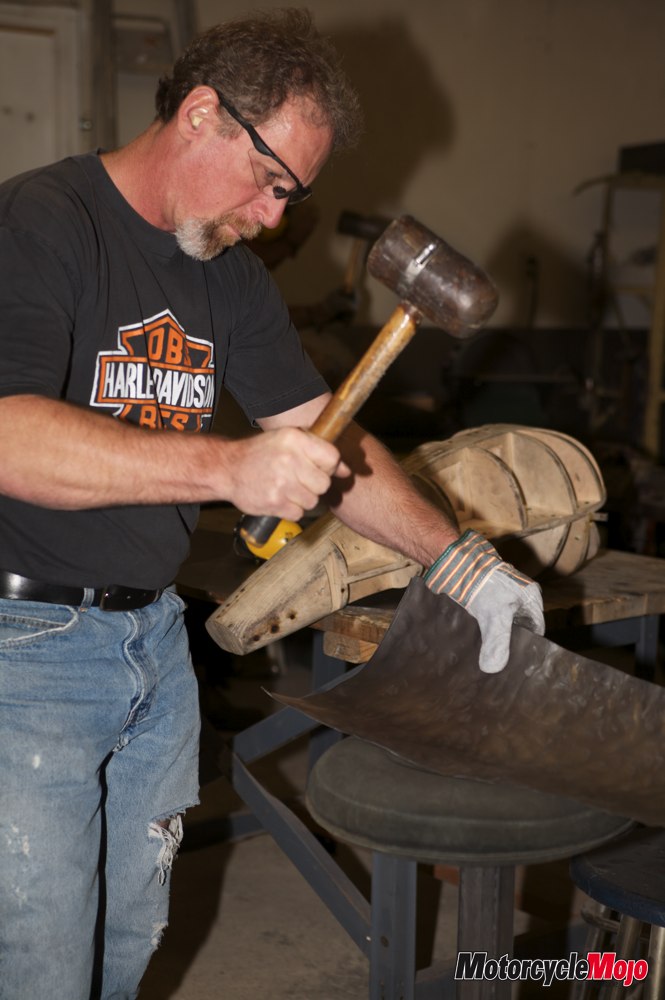
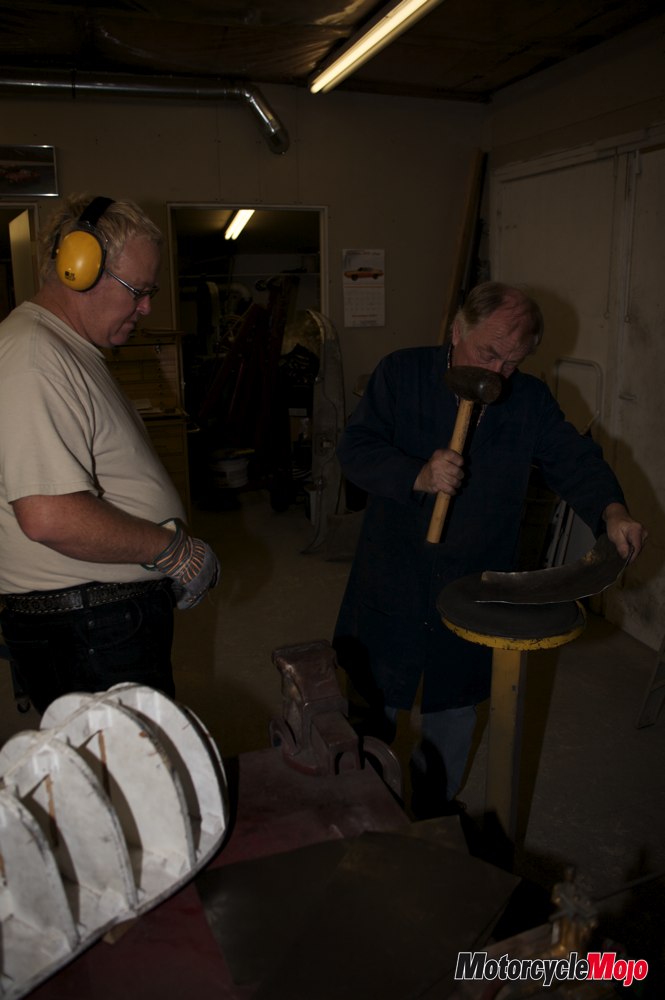
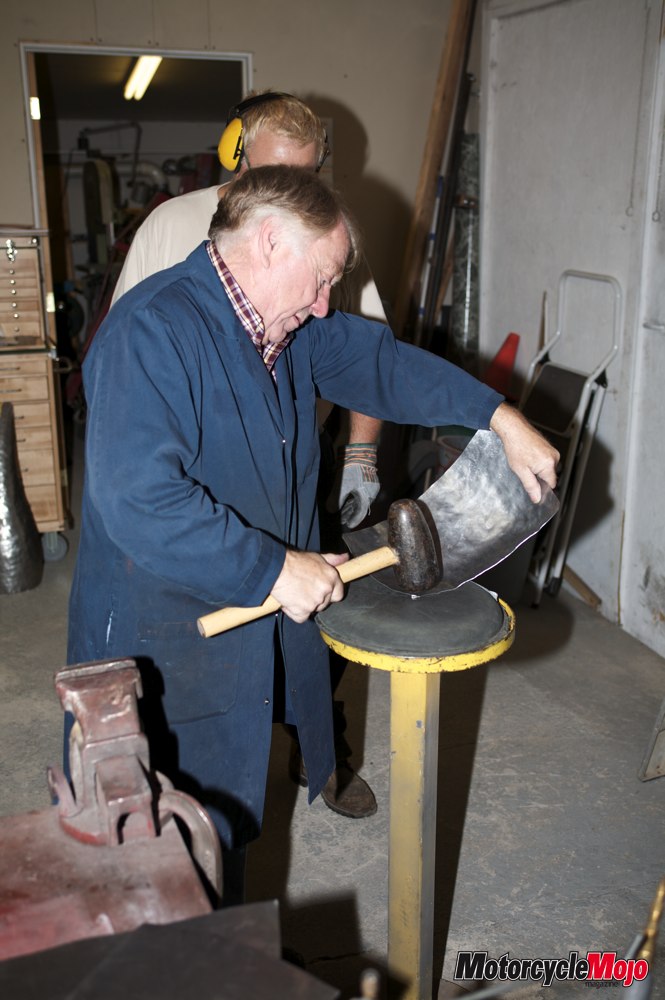
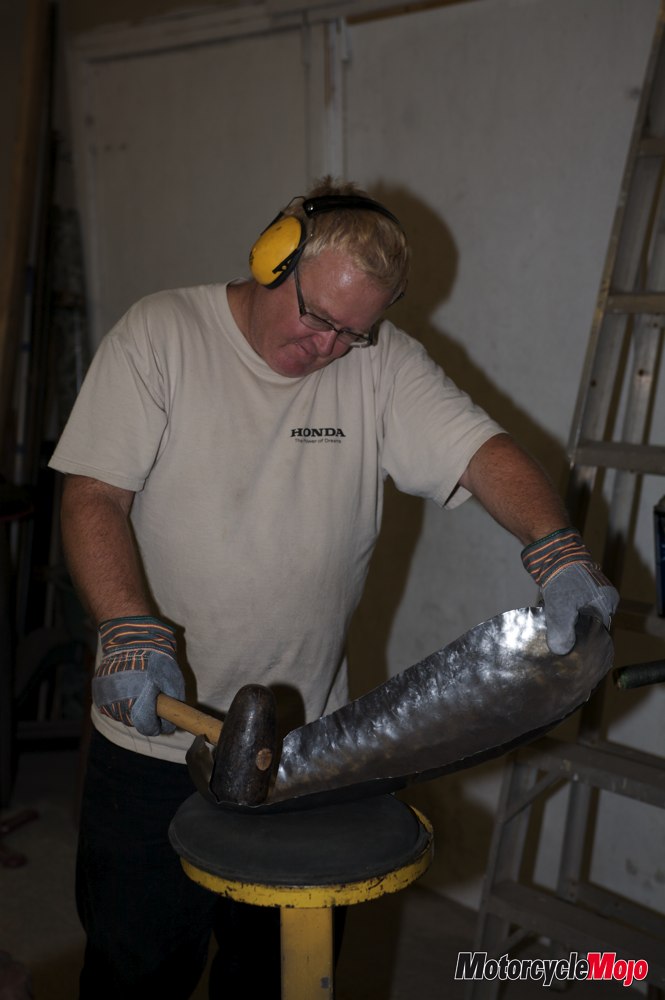
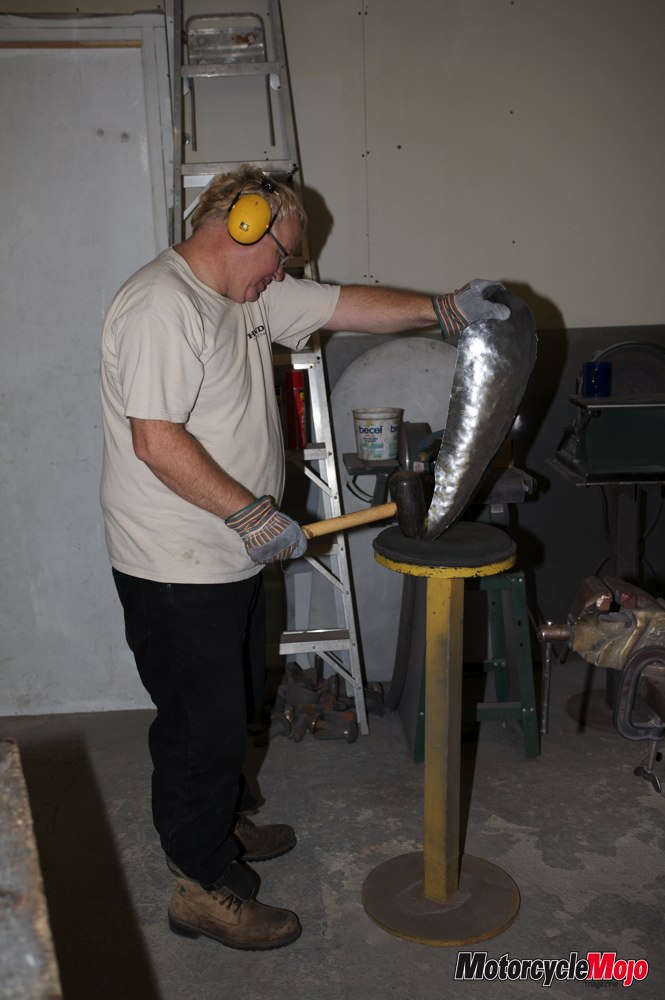
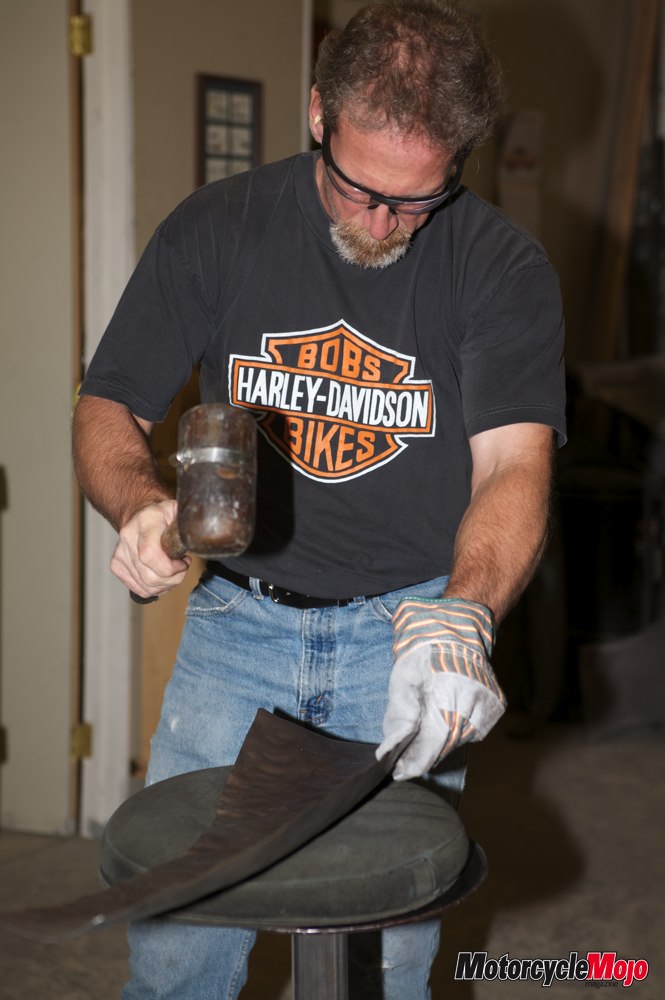
After John’s brief demonstration of pounding the bejeesus out of a piece of steel and his final remarks, ‘Don’t be afraid of it, hit it hard. It won’t bite back”, we were ready to get to work.
All I knew about shaping metal was that it was done with a mallet and lead-shot filled leather bag, and that it was not invented by Jessie James on Monster Garage as many who watch too much TV might think. I also knew that metal shrinks and stretches but I didn’t know how easy it could get totally bent out of shape. It was much to my benefit we were missing a student because this meant that John could fix one of my mistakes. Thanks John for fixing that one twisted piece of steel I was banging the crap out of. John must have somehow sensed that I didn’t really want a candy-cane style gas tank.
Fellow student Randy was taking the course to learn how to fix car bodies with metal instead of bondo. Randy chose the English style gas tank to work on. I think I heard him mutter something about making it into a mailbox. John, the other student, is retired and has found time to restore a 1955 Ford convertible he’d been holding on to for a while. John chose one of the miniature fenders to make but also brought a portion of the floor pan from his ‘55 Ford to get some advice on how to repair it.
I had hoped to be farther along with my project on Saturday but my progress was slow going, as was Randy’s progress with his tank. John seemed to be moving right along with his miniature fender but to tell you the truth, I think he chose the easiest project. I kept telling myself, “It won’t look as good hanging on his wall though”. We knocked off class about 7 p.m. on Saturday evening.
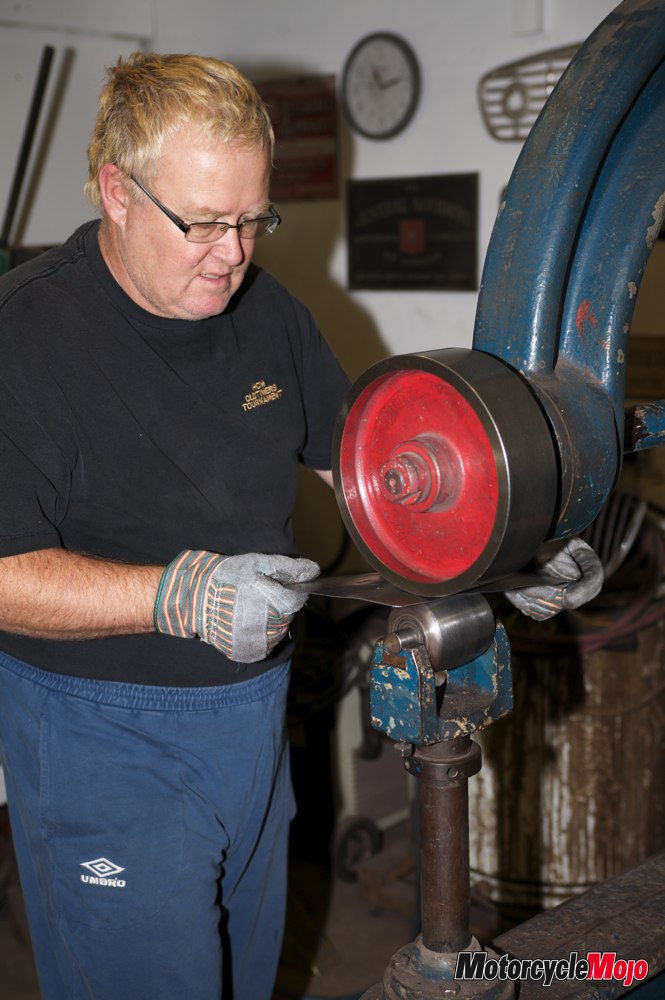
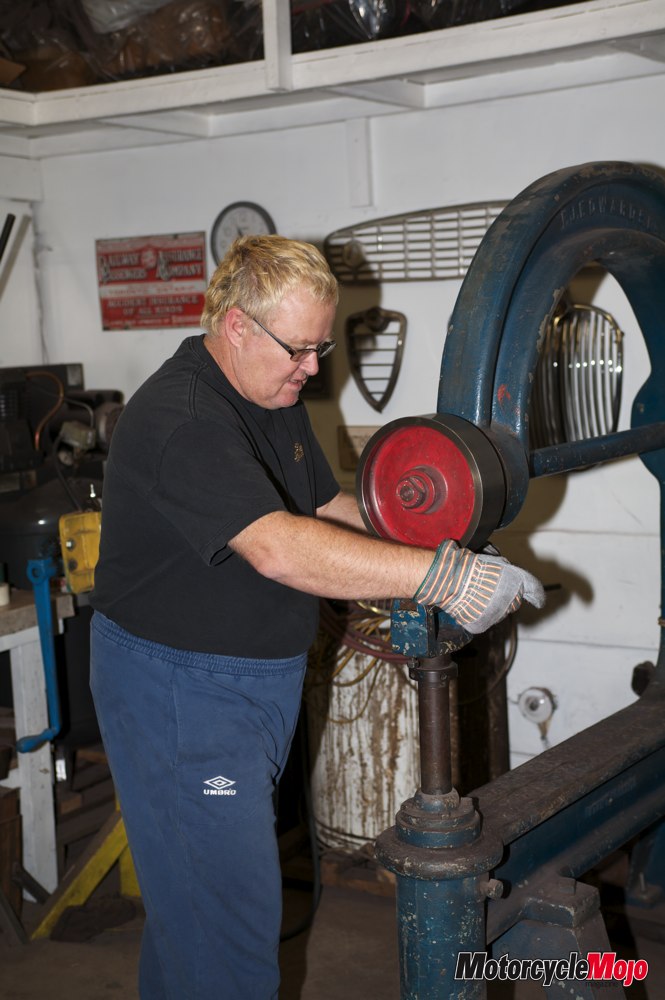
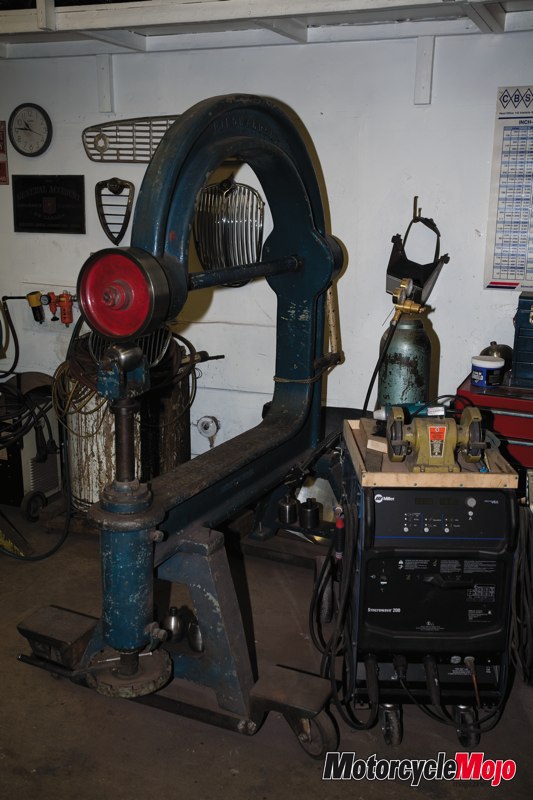
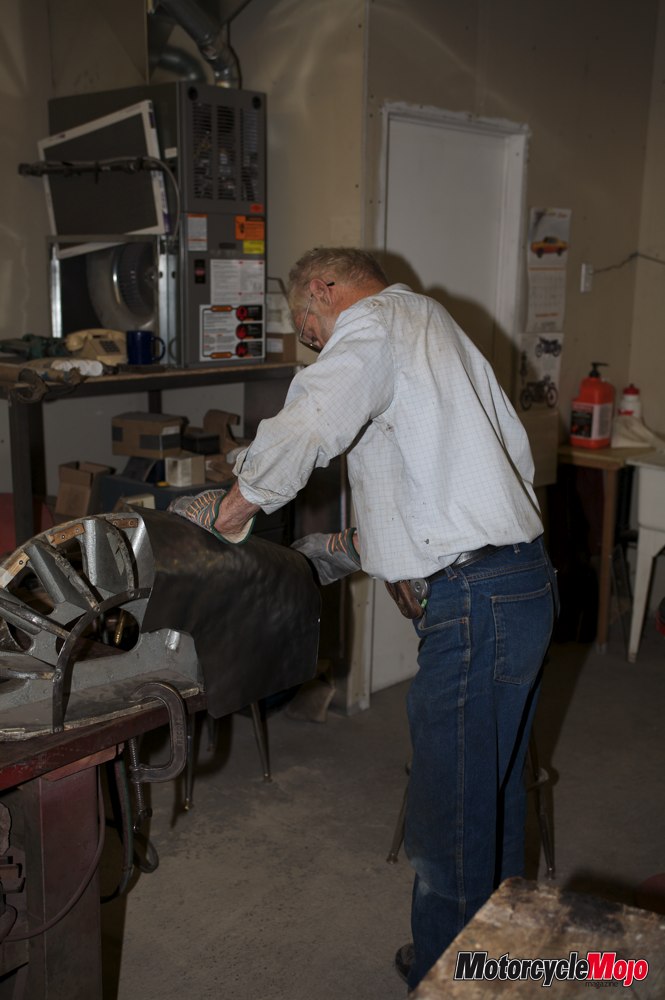
The course not only details the use of hand tools but also explains how to use power and mechanical tools. We were told that all you really need is the shot bag, a couple of different shaped mallets, various shaped steel body dollies and a couple of body hammers. To make the job easier, in John’s workshop there is a mechanical stretcher and shrinker as well as an ancient, but ‘solid as a mountain’ and probably just as heavy, English Wheel. This particular English Wheel has sentimental value to John. The company he apprenticed at in England was selling off all of its equipment so John went back across the pond and spotted this very useful relic. It was the same English Wheel he’d used for years during his apprenticeship. John was the first one to bid on it and as it turned out, he was the only bidder. Sold!, now take it home. Another reminder for those who watch too much TV, Jessie James did not invent the English Wheel either, although I think he made it a household word.
I thought I was making progress until the previously mentioned candy-cane piece. I figured it was beyond hope but John, in all his wisdom and skill, straightened it out and once again made it a straight piece of battered steel for me to distort yet again. This was a valuable lesson, understanding, or trying to under-stand, stretching and shrinking and how metal reacts to various beatings. If I had been paying more attention to John beforehand, it probably wouldn’t have gotten so out of shape.
Time was getting on. John was already using the English Wheel to smooth out pieces of his miniature fender and Randy, while still having panels to pound, was waiting in line to smooth out some of his shaped parts. I still had a fair ways to go before finishing shaping my metal. I was feeling a little panicky knowing that time wasn’t on my side but thought the worst that would happen was I wouldn’t have this chopper gas tank on my wall, no big deal. But I am gaining all this knowledge that will be of use in the future. I looked at my so-called finished pieces and the ones that still had to be banged on, what was I thinking when I chose that pattern?
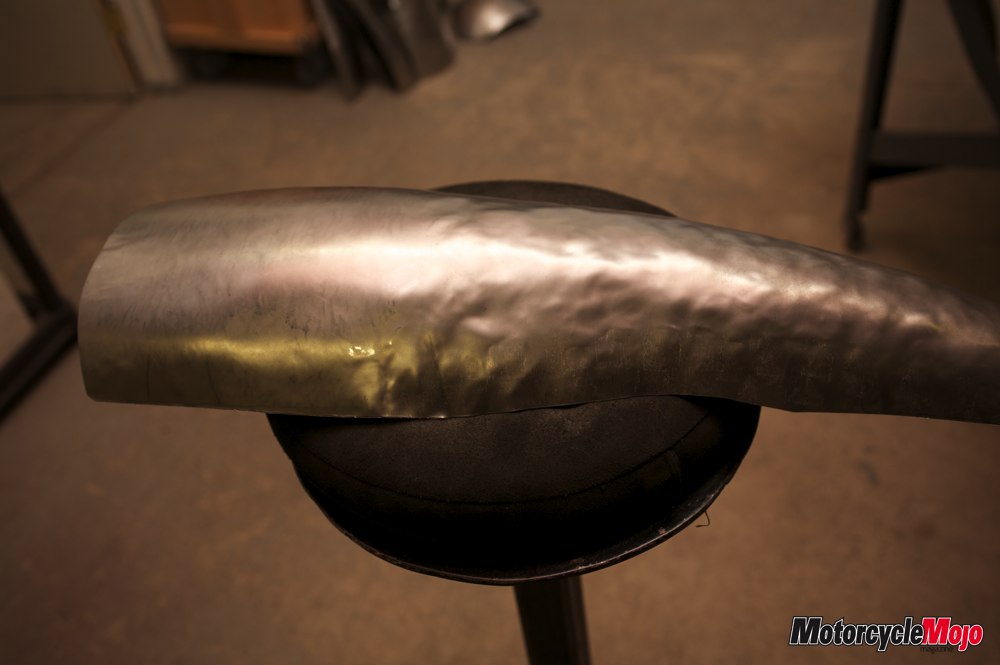
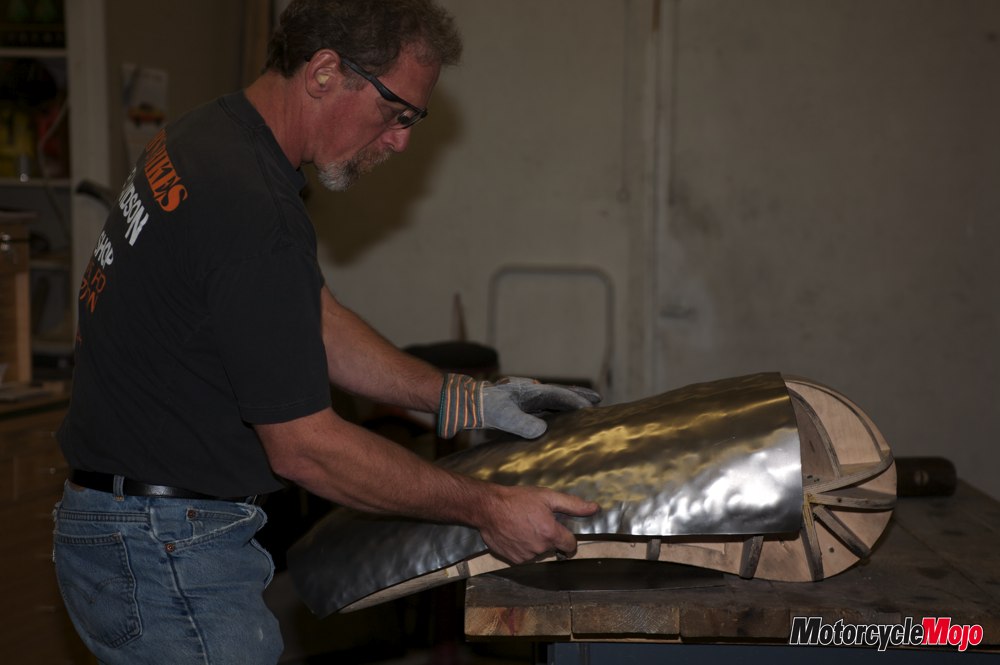
My gas tank consisted of a total of eight pieces, some with compound bends and others with very deep radiuses. To hammer out a flat piece of steel into a deep radius without buckling the edges is tricky for the inexperienced. I had a hard time believing that it could even be done, but with John’s help and tutoring, all went well. I had about five pieces shaped when I decided I had better smooth what I had shaped so far on the English Wheel.
John, as he had done all weekend for the three of us, took the time to explain the task at hand and the finer points of the English Wheel. After showing me the proper die selection for the radius of my beaten metal and teaching me the proper way to pull and push depending on the metal’s bends, I proceeded to smooth out my battered steel panels. Now, this is quite a tool. What would have taken hours to smooth out with dolly and hammer took mere minutes. The most important tidbit of information; keep your fingers out of the way. A no-brainer that will really hit home the first time your fingers get in the way.
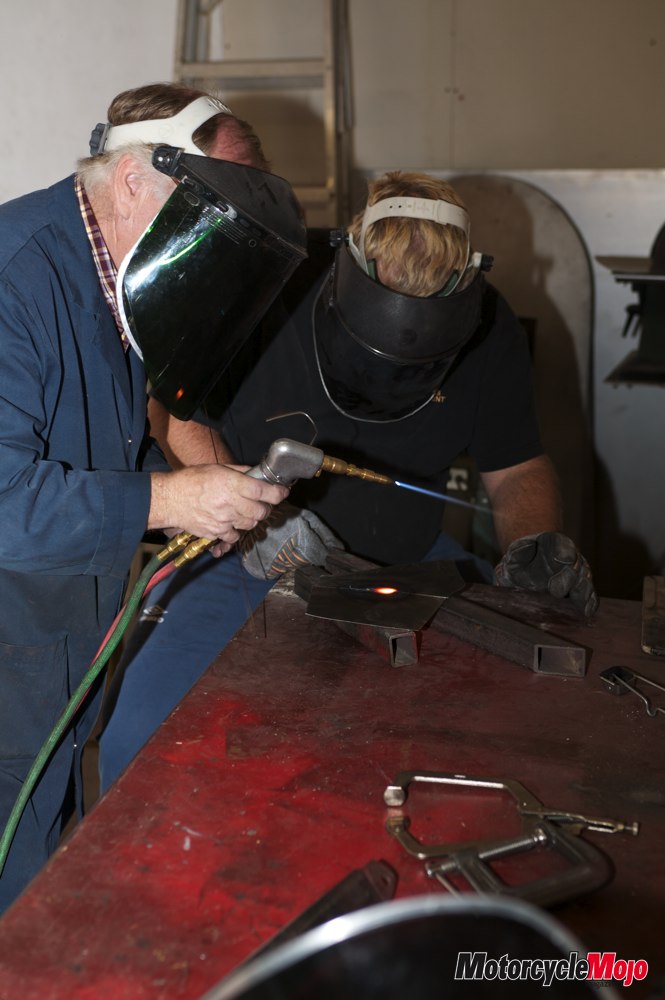
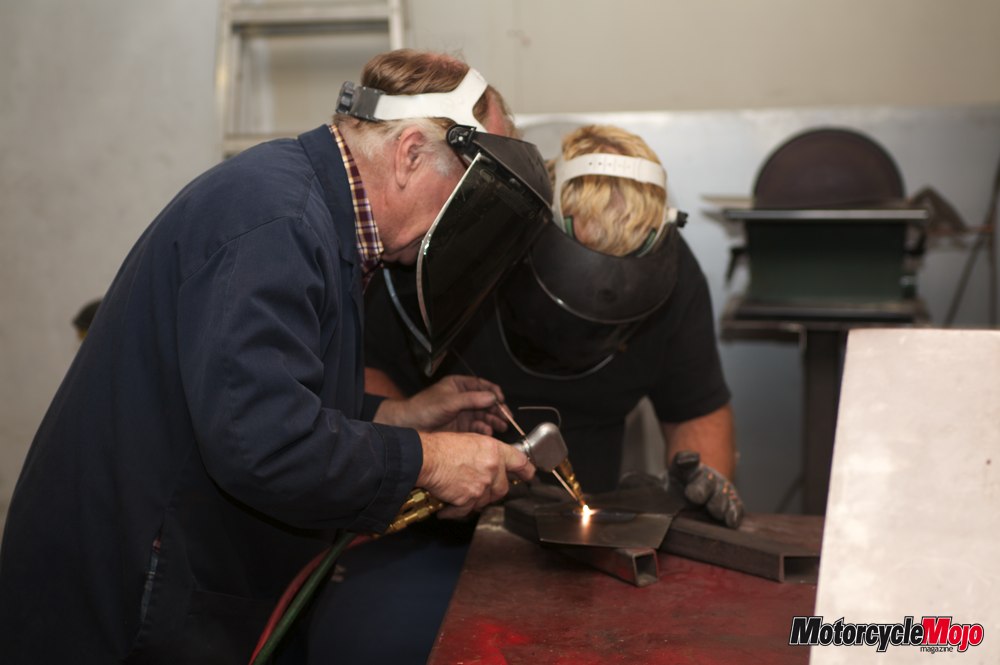
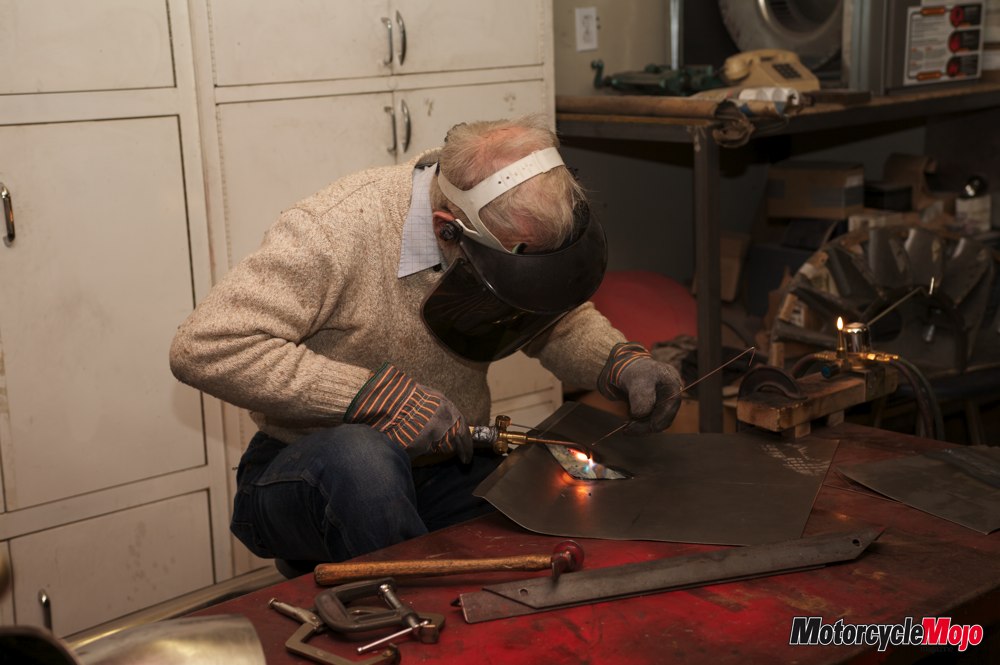
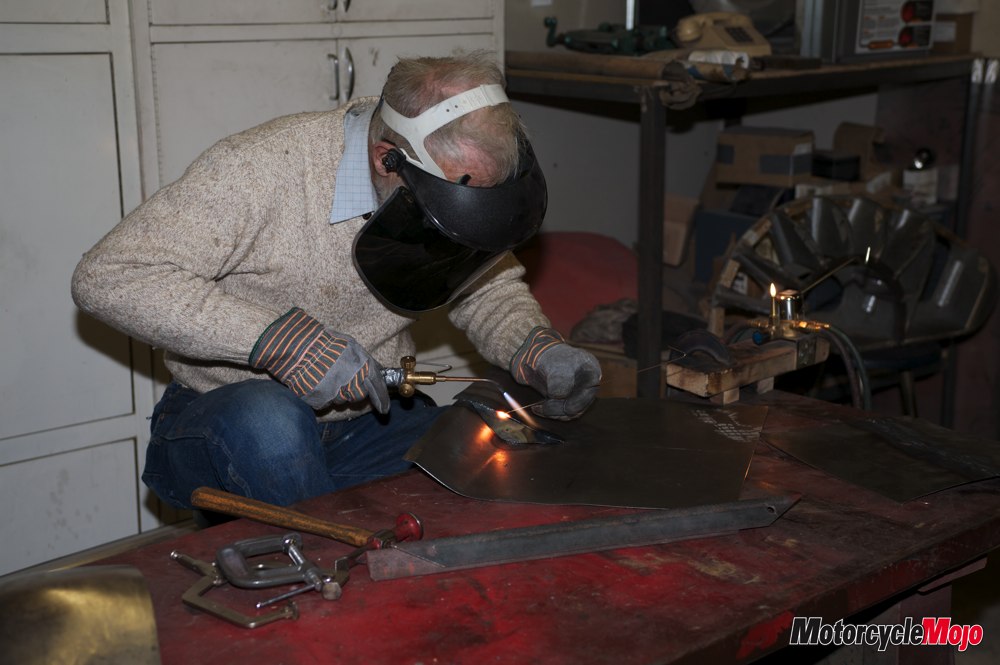
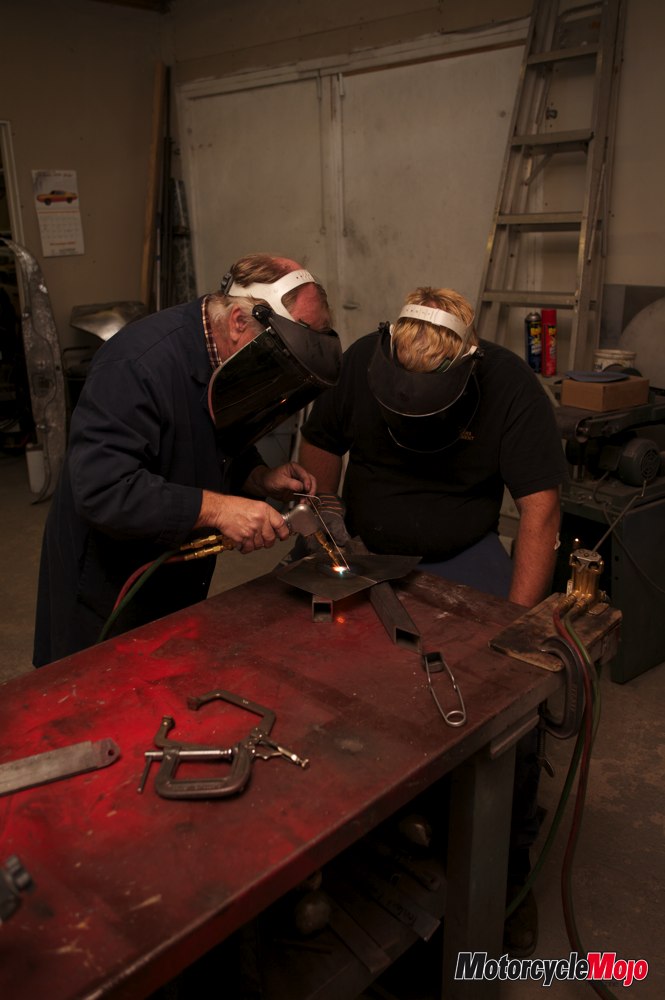
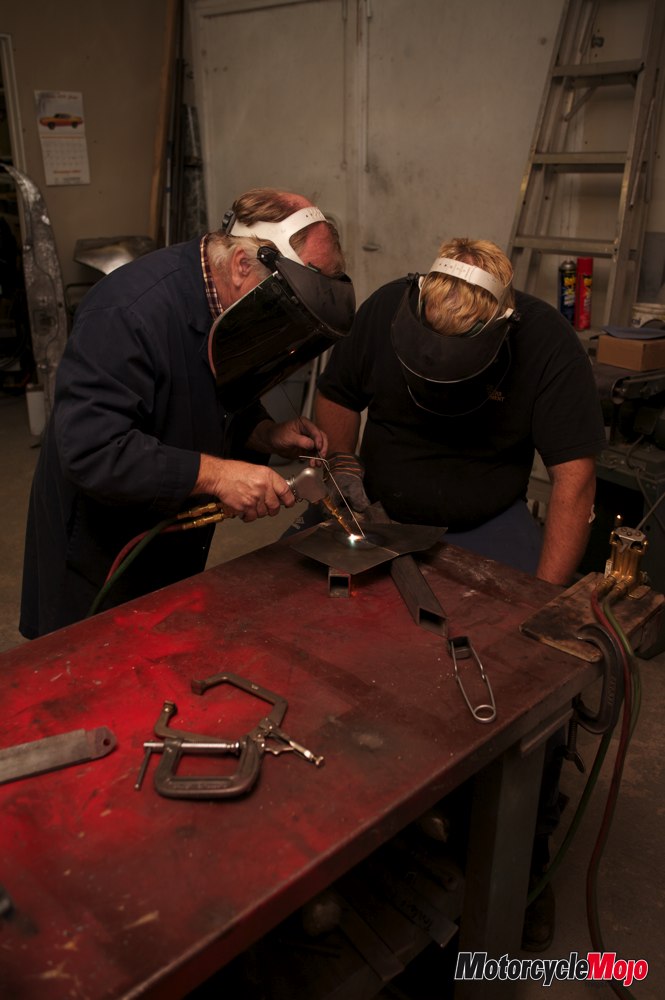
After smoothing, it was time to begin welding the panels together. John explained the various types of welding and in what circumstances they apply. For welding body panels, John prefers gas welding above any other kind. I tacked the metal every few inches and when necessary, I shaped the metal slightly before finishing the weld. Then moved to the dolly station and hammered the welds prior to grinding them smooth. If done properly, you will not be able to see the joint at all.
Sunday’s class came to an end at around 6 p.m. and my other two classmates hit the road for home. Randy didn’t finish his project, but took it with him to finish on his own and I think John could have finished his miniature fender if he didn’t spend time on his floor pan. Quitting time on this particular Sunday wasn’t carved in stone and with John’s offer to continue a little longer, I stayed later to try to get my tank a little farther along.
I knew it was a tough gig pounding steel for hours on end and I now have a new found respect for all custom builders for their creativity, and endurance when creating custom pieces. I didn’t finish my tank that night but I, like Randy and John, gained an enormous amount of knowledge about shaping steel. One day I’ll get back to my tank and it will hang on my wall, and every time I walk by it I’ll remember my sore knuckles and how my hands fell asleep every night for about two weeks straight.
The course costs a very reasonable $500 per student and includes everything. The only thing you need is a willingness to learn a new skill. Work gloves are supplied, as is all the steel for the project that you take home. John told us his insurance for the weekend alone eats up almost all of the tuition to ‘Metal Shaping 101’, but John is just happy to be able to pass his knowledge along. John also offers an advanced course that the four students make a pedal car and then auction it off on eBay, and the money goes to the charity of the four students choice.
Imagine how much fun it would be to make your own set of armour for next Halloween.


Thanks for Reading
If you don’t already subscribe to Motorcycle Mojo we ask that you seriously think about it. We are Canada’s last mainstream motorcycle magazine that continuously provides a print and digital issue on a regular basis.
We offer exclusive content created by riders, for riders.
Our editorial staff consists of experienced industry veterans that produce trusted and respected coverage for readers from every walk of life.
Motorcycle Mojo Magazine is an award winning publication that provides premium content guaranteed to be of interest to every motorcycle enthusiast. Whether you prefer cruisers or adventure-touring, vintage or the latest models; riding round the world or just to work, Motorcycle Mojo covers every aspect of the motorcycle experience. Each issue of Motorcycle Mojo contains tests of new models, feature travel stories, compelling human interest articles, technical exposés, product reviews, as well as unique perspectives by regular columnists on safety or just everyday situations that may be stressful at the time but turn into fabulous campfire stories.
Thanks for considering a subscription. The Mojo team truly appreciates it.
