A cable out of adjustment or a “grabby” clutch indicates that it might be time to replace your clutch.
There are several telltale signs that it might be time to replace your bike’s clutch. On my KLR650, one of the visual indications that it was ready for a new clutch was that the adjuster on the engine side of the clutch cable was near its limit.
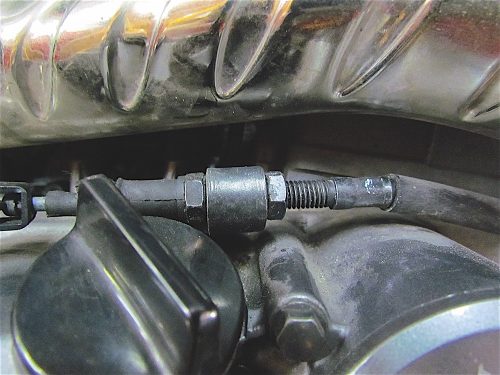 As the clutch wears on a cable-operated clutch, the pressure plate moves deeper in relation to the clutch cover, which causes the actuating lever to move inward. We compensate for this by adjusting the cable at the hand lever, but if that adjuster reaches its limit, there’s a further adjustment where the cable attaches to the engine. On some bikes, like Harleys, the adjuster can be in the cable itself. If you’re at the end of the cable adjuster at the engine, it’s time to have a look at the clutch. Also, if the cable is properly adjusted for the right amount of free play at the lever and the clutch slips, well, you know the drill.
A hydraulically actuated clutch self-adjusts as the plates wear out, so if you notice that the fluid level is low and there are no leaks in the system, consider looking at the clutch.
The other sign that my clutch was due for replacement was that is was slightly grabby. My bike has less than 20,000 km on the counter, and it’s unusual that the clutch be worn out at such low mileage. However, the previous owner had told me the reason he was selling the bike was that he’d taken it off-road and realized it wasn’t the lightweight dirtbike he was expecting after he spent several hours trying to get out of a mud hole. What I heard when he told me this was: “I may have toasted the clutch.”
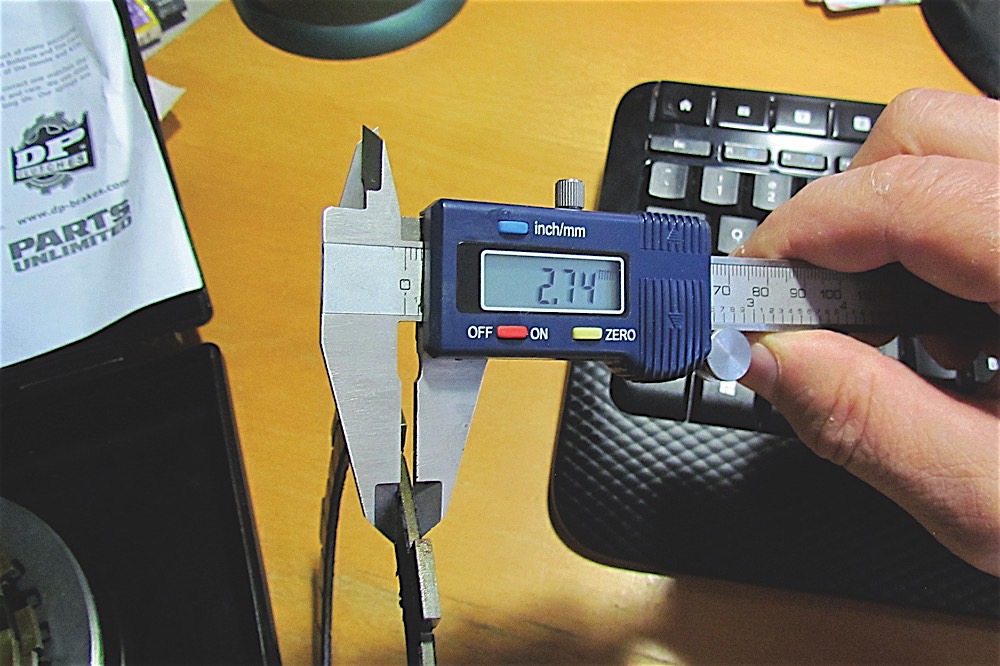
 Before writing off the clutch, however, it’s wise to have a service manual handy. It will have specifications for the thickness of the friction and drive plates, which are measured after the clutch is disassembled. Finding out you need a clutch after you’ve taken it apart is inconvenient, so if your bike has high-ish mileage and you suspect the clutch is done, just get one.
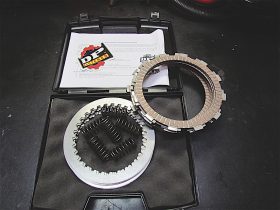
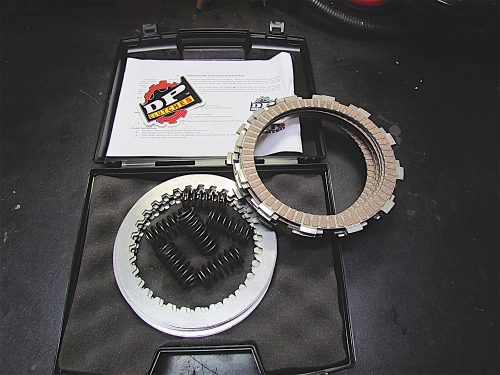
That’s what I did for my KLR. An easy choice was to go for a complete kit – I opted for the DPK clutch kit made by DP Brakes ($249), which included the friction discs, drive discs and new springs. And don’t forget the associated gaskets and seals; my KLR required that the water pump be removed, so I needed those gasket and seals, aside from the clutch cover gasket.
Before you start, you should disconnect the battery, so there’s no danger of the engine accidentally turning over while your fingers are near the engine’s whirly bits, and you can either drain the engine oil before removing the clutch cover or, if you’re cheap like me, find a way to safely lay the bike on its side so no oil leaks out.
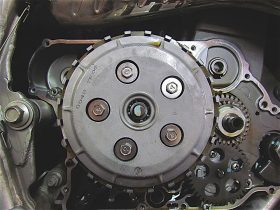
With the cover off, the clutch assembly is easily accessible. The first thing to do is to remove the bolts holding down the clutch springs. Don’t remove one bolt at a time with the others still clamped down because you risk damaging the pressure plate. Remove the bolts by loosening them gradually, working your way from bolt to bolt until they are all off. Pull off the pressure plate and look at the release bearing. The release bearing is what the clutch actuating mechanism pushes on to release the clutch; if it feels “notchy” or loose, get a new one; it’s a light press fit in the pressure plate and is easy to replace.
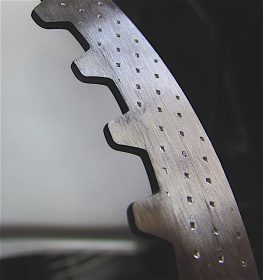
Before pulling out the clutch plates, note how the clutch is assembled. On my KLR, for example, the top friction disc is mounted in separate slots from the rest of the discs. Also note if there is a spring drive plate sandwiched between the discs, and make sure it is replaced in the same position. With all of the clutch plates removed, have a look at the clutch basket fingers to make sure the edges are straight and notch-free; barring extreme abuse, they are usually fine.
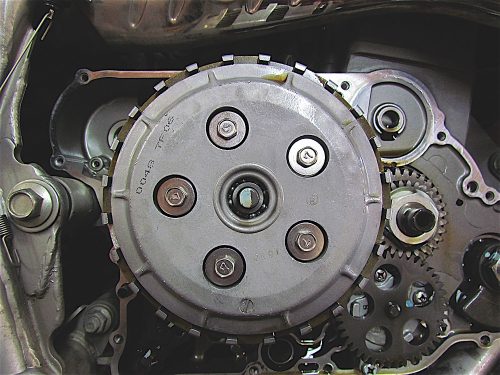 Most friction discs need to be soaked in oil before assembly; the DPK clutch discs can be assembled dry – read the instructions carefully. Most steel plates are usually stamped when they are formed, causing one edge to be rounded and one to be sharp. If so, install the rounded edge toward the engine: this will ensure smooth clutch engagement. After all the plates and pressure plate are installed, assemble the springs and tighten their bolts gradually – again, working your way from bolt to bolt – to their specified torque. Replace the clutch cover and you’re done.
With the new clutch installed on my KLR, the cable adjuster went back to a more desirable position, and the clutch released smoothly, after a short break-in period, of course.
Technical articles are written purely as reference only and your motorcycle may require different procedures. You should be mechanically inclined to carry out your own maintenance and we recommend you contact your mechanic prior to performing any type of work on your bike.


