
Shortening a Fork

There are a number of ways to lower your front suspension, but there are pros and cons to each.
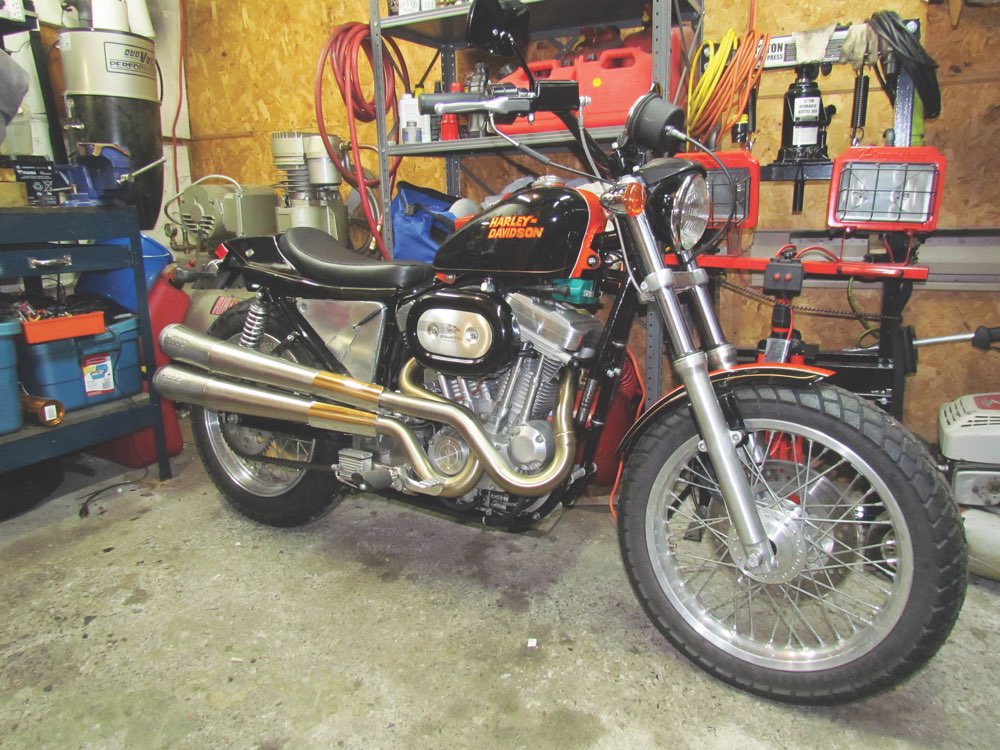
When I bought my Harley XR street tracker two years ago, I knew that despite having logged only about 800 km since I had originally built it for a customer in 1994, it still needed some work. It needed tires and there were some issues with the engine, but I also wanted to perform some cosmetic work. When it was built, most everything but the frame came from a Sportster 883, including the fork. Unfortunately, the stock Sporty fork is too long for the XR750 frame, giving the bike a rearward slant that just looks wrong. The fork tubes are about 50 mm too long, and although I could have easily raised them within the triple clamps, this, too, just didn’t look right. For some of you, a shorter fork, in conjunction with a lowered rear end, might lower seat height for a better reach to the ground.
Several options are available to shorten fork slider tubes. One is to source shorter tubes, readily available through Harley-Davidson, and made for lowered Sportsters like the Hugger. But at more than $300 for the pair, as well as the added cost of shorter fork springs to maintain the proper preload, I was hesitant to go in that direction.
 A friend of mine who builds custom bikes suggested a more affordable option: to have my original slider tubes shortened professionally, which would require that they be removed and sent to a machine shop to be cut, machined and threaded. But that sounded overly complex, and it would mean that my bike would have to be supported for several days without a front end while I waited for the job to be completed. And I would still have to buy shorter fork springs.
Somewhat surprisingly, it’s one of the simplest solution that came to me last. An online search produced two lowering kits for a Sportster fork, made by Progressive Suspension. The first I looked at, the Drop-In Fork Lowering System ($182), provided the simplest solution. As the name suggests, all you have to do is remove the fork caps, pull out the stock fork springs and drop in the new ones. The kit has two springs per fork leg; one provides the suspension duties, while the other is a very soft spring that compresses until it binds, taking up excess wheel travel and lowering ride height by up to 5 cm, according to the manufacturer. I didn’t take that route, because I wasn’t too keen on having 5 cm of free-ish wheel travel, and I wanted to service the fork, which the second kit allowed.
The Progressive Suspension fork lowering kit ($189) requires that you disassemble the fork, but this isn’t overly complicated, and it provides an opportunity to overhaul the front suspension. The only added cost, if all the seals and bushings are in good condition, is for a bottle of fork oil.
Older Sportsters have very common damping-rod forks. Taking them apart requires that you remove the forks from the triple clamps and remove the fork caps and fork springs. At that point, you can turn over the fork and drain the fork oil through the top. Since the slider tubes must be separated from the sliders, you must carefully lift off the dust seals to gain access to the fork seal lock ring; remove that, then remove the damping-rod bolt at the bottom of the fork. You can then pull the tube out of the slider with a hammering motion.
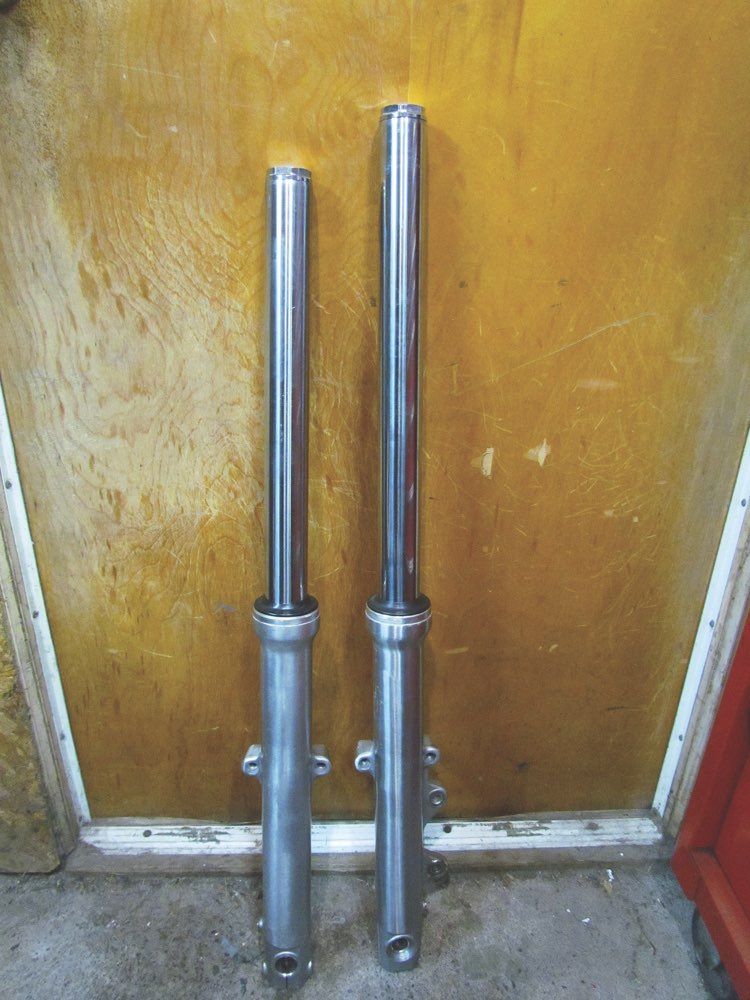
 The way this kit works is that two top-out springs are provided for each fork, along with the main spring. Each top-out spring measures 25 mm, and you can use one or both, depending on how much you want to lower the front end. Adding a top-out spring to the existing one essentially pulls the slider tube deeper into the slider (the damper rod subsequently protrudes less), thus shortening overall fork length. Shorter main springs and spacers are provided to maintain the correct preload. Since I used both top-out springs to achieve the 50 mm height drop I was looking for, no spacers were needed.
There are several advantages to using this type of lowering kit. One, as mentioned, is that it gives you a chance to refresh your fork. Another is improved ride quality, since the new springs are progressively wound, but also because if you have a high-mileage bike and the sliders show some internal wear, the fork bushings will now ride in an area with less wear, thus reducing unwanted side play. The biggest disadvantage is that you will lose some wheel travel; on my bike, it went from 155 mm to 105 mm, which is still more than adequate for a street bike. Of course, the biggest advantage for me is that the bike now looks great.
Technical articles are written purely as reference only and your motorcycle may require different procedures. You should be mechanically inclined to carry out your own maintenance and we recommend you contact your mechanic prior to performing any type of work on your bike.


Thanks for Reading
If you don’t already subscribe to Motorcycle Mojo we ask that you seriously think about it. We are Canada’s last mainstream motorcycle magazine that continuously provides a print and digital issue on a regular basis.
We offer exclusive content created by riders, for riders.
Our editorial staff consists of experienced industry veterans that produce trusted and respected coverage for readers from every walk of life.
Motorcycle Mojo Magazine is an award winning publication that provides premium content guaranteed to be of interest to every motorcycle enthusiast. Whether you prefer cruisers or adventure-touring, vintage or the latest models; riding round the world or just to work, Motorcycle Mojo covers every aspect of the motorcycle experience. Each issue of Motorcycle Mojo contains tests of new models, feature travel stories, compelling human interest articles, technical exposés, product reviews, as well as unique perspectives by regular columnists on safety or just everyday situations that may be stressful at the time but turn into fabulous campfire stories.
Thanks for considering a subscription. The Mojo team truly appreciates it.
