The small jets inside a carburetor can, and will, plug up with stale fuel, but there are a few tricks to cleaning the delicate internal components.
Between the rider-training bikes I service and my friend Carl’s collection of vintage Japanese bikes that I’ve been restoring lately, I’ve been working on an unusually high number of carburetors. Many of the riding school’s bikes need servicing after winter storage, even though they’ve been properly stored. Turning on the petcocks in the spring often reveals that some of the bikes have sprung fuel leaks, usually due to a sticking float needle. Many of Carl’s bikes have been sitting idle for a few years, having been purchased and put away until time allows me to give them a good inspection.
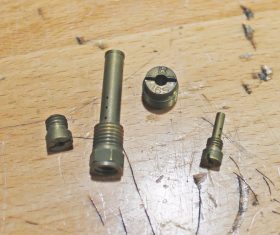
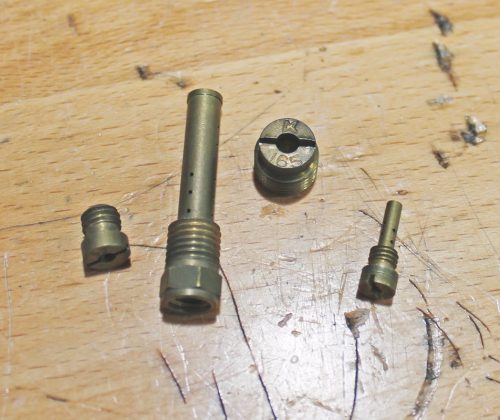 The biggest problem with these older, carbureted bikes is that their fuel mixers have been fouled by stale fuel. Gasoline can go bad after just a few weeks if the volume of fuel is small enough, and the float bowl of a carburetor contains, at most, a couple of ounces of the stuff. After a few years, what remains of what was once gasoline has turned into a sticky residue that clogs the tiny jets and orifices inside the carburetor. You’ve probably experienced a bike that starts up after sitting for a length of time, but refuses to hold its idle or runs rough at low speeds. This is because the pilot jet, which helps the engine idle and run at small throttle openings, is clogged. Being the smallest of the carburetor’s jets, it’s the most likely to clog first.
Cleaning the smaller carburetor parts is a delicate procedure. The trick is to clean the orifices so that they return to their original, unsullied size without damaging them. I’ve seen some people clean carburetor jets by passing a tiny drill bit through them, but no matter how careful you are, a hardened drill bit can remove material from soft, brass jets.
Aside from repairing old bikes, another hobby of mine is to service and repair mechanical watches. These tiny parts are extremely delicate, so using anything abrasive to clean them is out of the question. One item that’s proven indispensable for my watch repairs is my ultrasonic cleaner. It cleans tiny watch parts by bathing them in mild solvent and passing high-frequency sound waves through the liquid, vibrating the fluid around the parts and shaking any foreign substance loose – and with excellent results.
 Well, it didn’t take long for me to try this technique on carburetor parts. And it has worked with equally satisfying results.
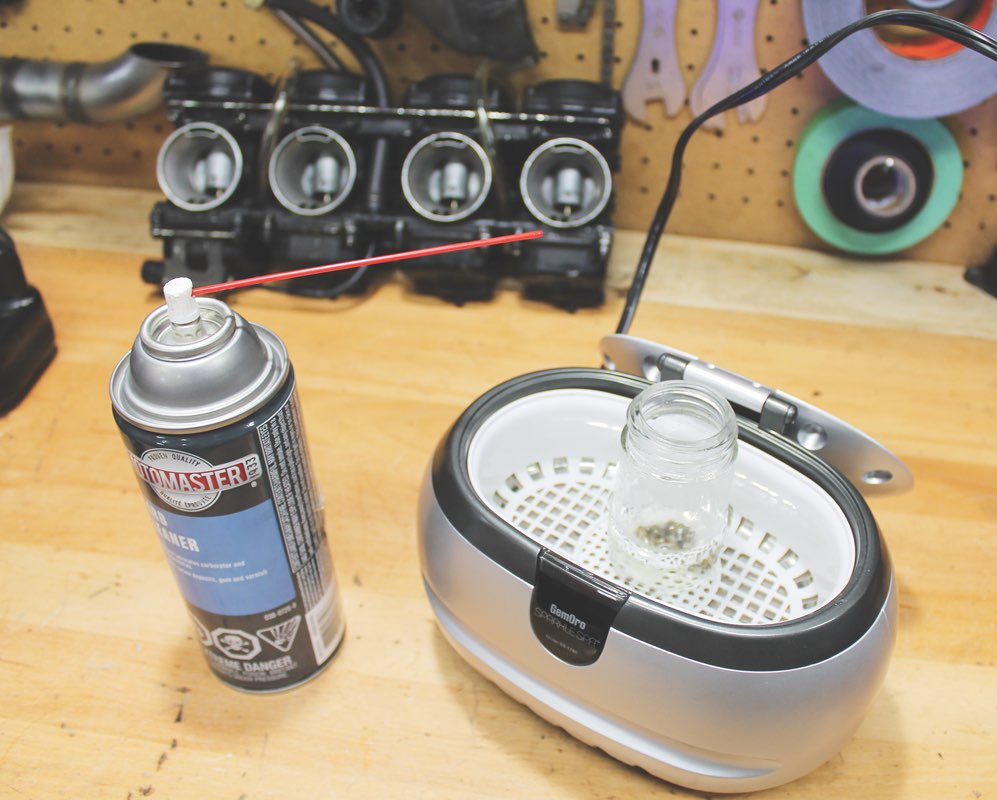
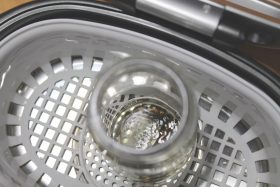
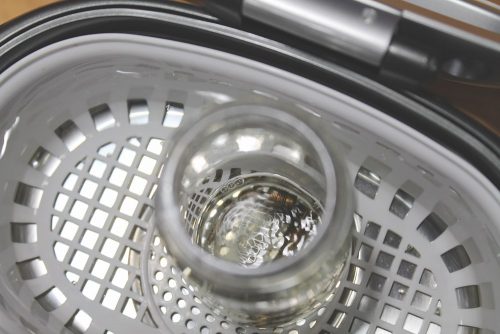
Small hobby ultrasonic cleaners can be found online; I got mine for less than $100. The solvent I use in my ultrasonic cleaner varies from lighter fluid (it has very good cleaning properties) to aerosol carburetor cleaners purchased from autoparts stores. As I do not want to waste solvent, I put the parts to be cleaned in a small glass jar, then immerse them in whatever solvent I’m using. Then I place the jar inside the ultrasonic cleaner and fill its reservoir with water to the recommended level. The sound waves are most effective when travelling through liquid, so there’s a direct flow from the water in the reservoir through the glass jar and into the solvent within.
My ultrasonic cleaner has a preset timer, which lasts about a minute. All I do is turn it on repeatedly until the parts come out clean. This has proven to be a very effective way to clean a carburetor’s delicate internals without causing any damage.
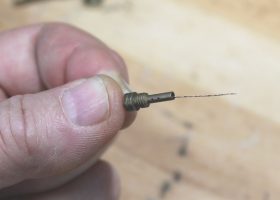
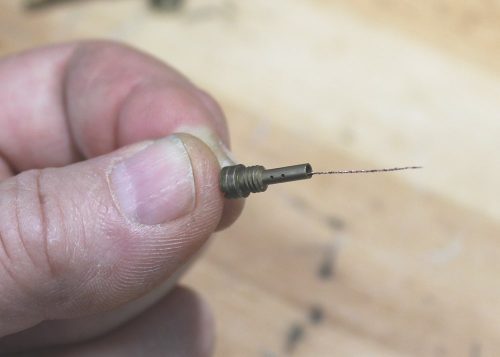
Now, not all parts come out perfectly clean, and I’ve had some stubborn pilot jets that refused to free themselves of the sticky, stale fuel. Those need a little extra coaxing, but again in a manner that will not cause any damage. Don’t forget that any material removed from a carburetor jet will enlarge the hole and produce a richer fuel mixture. In these cases, I use the strands from a copper wire. Copper is hard enough to remove hardened fuel, but soft enough to leave the jet intact. Depending on the size of the jet, I will twist a couple or more strands of copper wire together and pass them through the jet’s orifice.
 A carburetor body is too big to fit into my ultrasonic cleaner, so this is cleaned manually with solvent, compressed air and, where possible, copper wire. Stale fuel doesn’t seem to cling as tightly to the aluminum body of a carburetor, so it’s a bit easier to clean with compressed air than the jets are. If you don’t have a compressor handy, you can use aerosol blowers sold in computer shops.
The trick to keeping a carburetor clean is to prepare it properly before storing the motorcycle. For a trouble-
free start to the next season, add fuel stabilizer to the tank and drain the float bowls before storing your bike for the winter.
Technical articles are written purely as reference only and your motorcycle may require different procedures. You should be mechanically inclined to carry out your own maintenance and we recommend you contact your mechanic prior to performing any type of work on your bike.


