
See and Be Seen


Knowledge is important. Learn from someone who’s already done the research and found what works.
Pick through pretty much any online motorcycle forum – like the stromtrooper.com that serves my much loved 2018 Suzuki DL1000 – and other than “when is this damned COVID-19 thing going to end” and the ever-dreaded oil thread, the next most popular subject is almost always the search for the perfect LED headlight replacement bulb.
There are a bunch of reasons for this. A cynic might postulate it’s because of the simplicity of the experiment. Replacing a bulb is a damned sight easier than installing a new camshaft and the results of the change are immediately – and visually – apparent. An optimist, on the other hand, would say that it’s because so many of us care about safety, both during the day (when a brighter bulb means a motorcyclist will have a better chance of being seen) and during the night (when that same brighter light will alert us to the hazards of the road). The cheapskates amongst us might counter that it’s because headlights cost but a pittance compared with an aftermarket pipe or a new Öhlins shock absorber and, referring back to the cynic’s argument, the results are more readily apparent. Whatever the case, LED light missives go on for as long as the aforementioned oil threads, only with a lot more pictures.
Not nearly as immune to obsession and/or compulsion as I’d like to think, I quickly found myself hooked. So much so that not only is my beloved V-Strom now decked out with LED replacement bulbs (both high and low beams), but also some LED auxiliary lights and, get this, a set of the first laser – yes, laser! – add-ons that Baja racers now swear by. So, in the name of efficiency – as in you don’t need to make all the same mistakes I did – here’s what I learned in the past 12 months of experiments in motorcycle illumination:
LED Headlight Replacement Bulbs
 The first thing I learned is that the quest for lumens – invariably the focus of Amazon’s LED light advertisements – is a rabbit hole down which many a biker plunges. In fact, how much light an LED bulb puts out may be the least important criterion in determining its use as a replacement.
That’s because a headlight bulb does not illuminate in isolation. Indeed, the most important thing determining headlight efficiency is the reflector – the housing that reflects the bulb’s rays forward – and how the lamp fits inside. Put a powerful light in the wrong place in a reflector and all that you’ll get is a smattering of light beaming off in all directions but the one you want. Take a lesser beam, put it in the optical epicenter designed by the reflector’s engineers and, presto, you’ll be rewarded with the improvements promised by all those lumens. Even the angles at which said LEDs are arranged matters. Halogen filaments are invariably mounted with a north/south orientation; you want the actual LED chips to emulate that orientation.
So, the most important factor, according to the experts at Headlight Revolution – who have the best instruction videos on automotive lighting on YouTube – is “how closely the LED chips mimic the incandescent light bulb filament of the original headlight.” In other words, it’s not how much light an LED puts out that makes it bright, but where its LED chips are placed.
Indeed, the hardest lesson I learned going through manifold LEDs is that the problem with most LEDs is that they don’t place the centre of illumination in the same spot as the halogen bulbs they replace. Believe me, I was skeptical of the simplicity of this placement discussion. But turns out that if the actual light-emitting diode is not in exactly the same position as the halogen bulb’s filament was in its reflector, the light will not be effectively, well, reflected forward. Where I – and so many other armchair illumination engineers – had been chasing as many lumens as I could get, what I should have been looking for was where those lumens were placed.
Tried and Tested
 The good folks at Headlight Revolution had just what I was looking for. It’s called the CSP Mini, which, according to the little diagram they provided, showed that the CSP is dimensionally a virtual clone of the halogens I was trying to replace. Having been bitten by failed projects – I had quite a collection of lighting rejectees by that time – I ordered three Minis, an H4 for the 1982 Honda CB1100RC that has pride of place in the Booth garage, and an H7 for the V-Strom’s low beam and an H9 for its high beam.
In the old CB, the CSPs were nothing short of a miracle. Pumping out at least three times the light of the tired old halogen, with a beam pattern, especially on low, that was, if anything, more precise, the old Honda went from downright dangerous at night to visually modern. Quite extraordinary.
Next up was the H9 in the Suzuki’s high beam – replacing the high beam on a recent-edition DL is a two-minute chore, but replacing the low beam requires removal of the entire dashboard – and like on the Honda, once again the CSP just popped. I was really beginning to believe in this “Location! Location! Location!” thing. And, once again, no aiming of headlight adjustment was necessary: the centre of its beam – as marked on the wall of my garage – was virtually identical to the halogen it was replacing.
Now suitably impressed, I manoeuvred the H7 CSP into the V-Strom’s low-beam socket. As I mentioned, the Suzuki’s low beam is a bit of a pain in the you-know-what. Not only is the removal of the instrument panel required to access the socket, but it’s covered by a cap, which – and this is why I have been mentioning the headaches of installing – that normally needs modification to fit an LED. Once again, it was worth it: the low beam is substantially brighter, and the beam pattern – important as not to blind oncoming motorists – is as distinct as ever. This time, a little height adjustment was required, but with fewer than three turns of the adjuster, the low beam cutoff was right back to where it started.
Position More Important than Lumens
Now, here’s the important lesson – not to mention proof that the folks at Headlight Revolution know their lights: at just 2,500 lumens, the CSP Minis actually had the lowest illumination rating of any LED I tested. In some cases, in fact, the CSP’s max lumens were less than half that boasted by competing bulbs. But by putting light in the right place, the Minis produced the brightest beams in all three cases.
Now here are some more unexpected benefits of that lower lumen rating. First, because they generate less outright light, the CSPs only consume 16 watts. That’s the lowest current draw of any of the bulbs I tested. In fact, with the two stock Suzuki bulbs consuming 120 watts between the two of them, the result was almost 90 watts less load on the Suzuki’s sometimes challenged charging system. That conservation of 7.5 amps is the difference between the DL being able to maintain a minimum 13.2 volts to the battery with both high and low beams on and blasting heat from two heated vests or having to choose between turning down the heat or running on low beam only. More light, less draw and more heat for She-Who-Must-Be-Obeyed; that’s a winning combination in my book.
Auxiliary LED Driving Lights
 Like all worthwhile obsessions, once bitten by this lighting bug, it can be hard to stop. The next step in Maslow’s hierarchy of flood lamps are LED driving lights. And, like LED replacement bulbs, Amazon is chock-a-block with cheap driving lights. Typically designed for off-road 4x4s, these lights have basic wiring harnesses and often suspect waterproofing. For every successful installation seen on YouTube, there’s some other poor schmo whose shorted out his Chinese cheapies, either because of a faulty housing or faulty wiring.
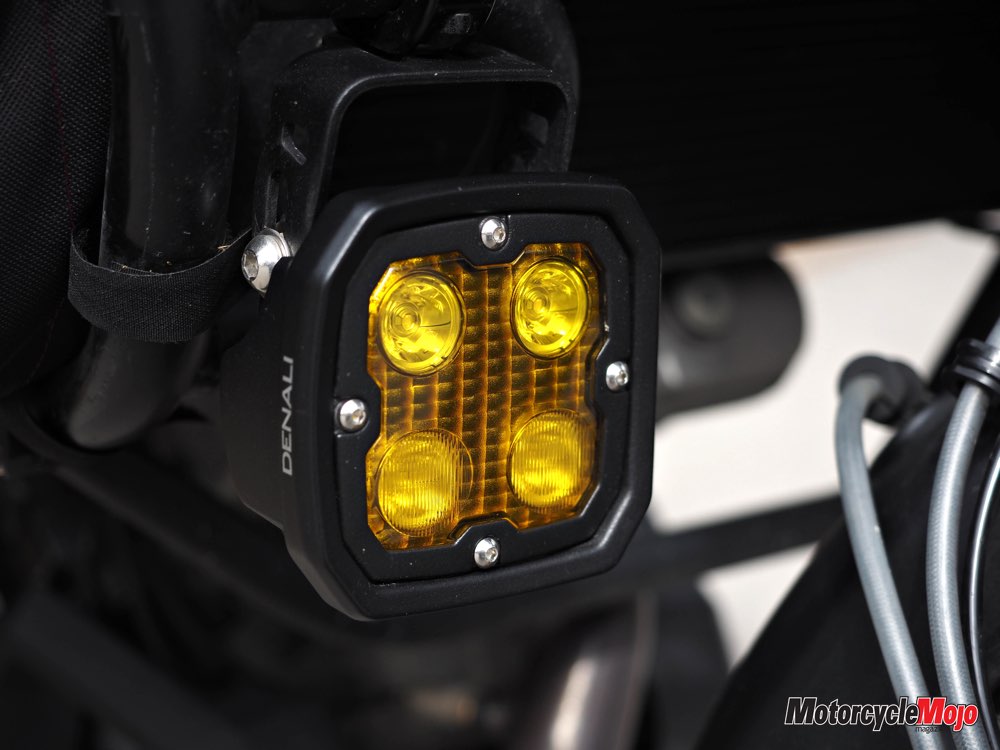
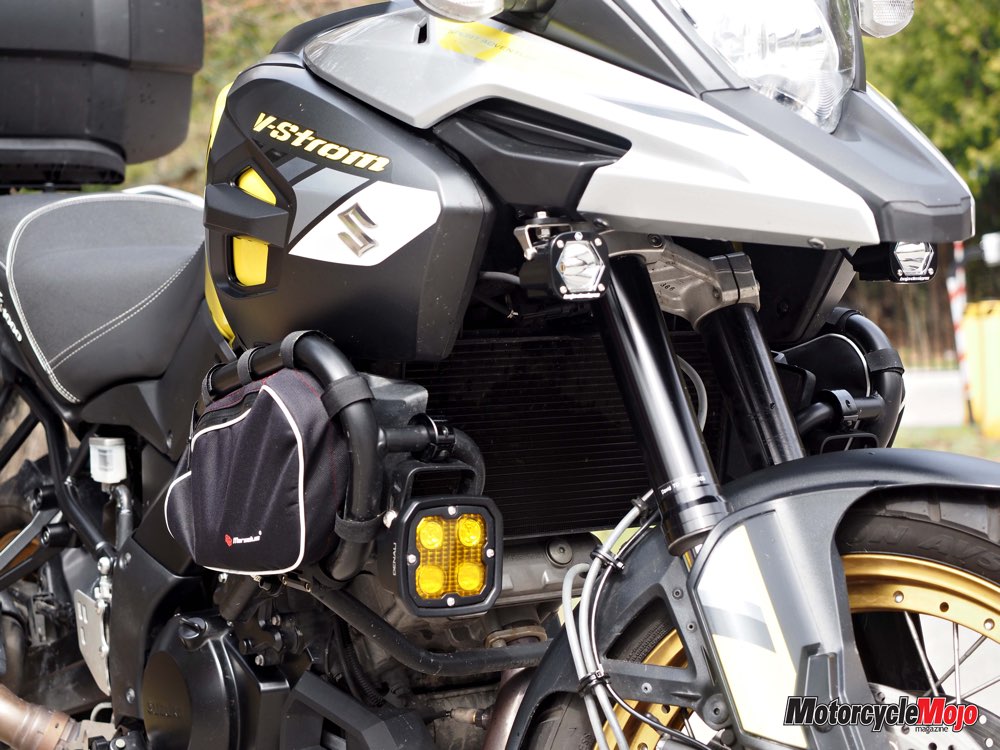
With that in mind, I decided to buy a set of Denali D4s. I chose them over the equally recommended Clearwater Ericas mainly because they were: a) half the price; and b) they have, by far, the best wiring harness in the business. And even though I was going to “hack” up the connectors a bit – to mate the lights to my iPhone-controlled Neutrino smart fuse box – know that hooking up a Denali lighting system is quite literally “plug and play” with excellent quality – that should be read: waterproof – connectors all around. Top-shelf stuff.
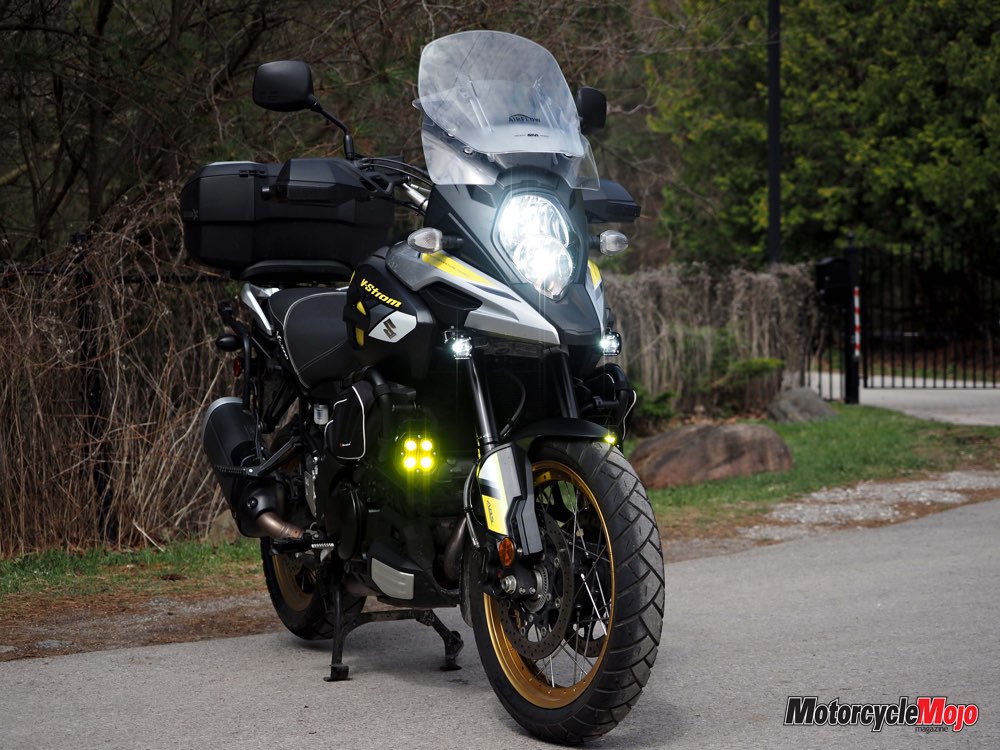
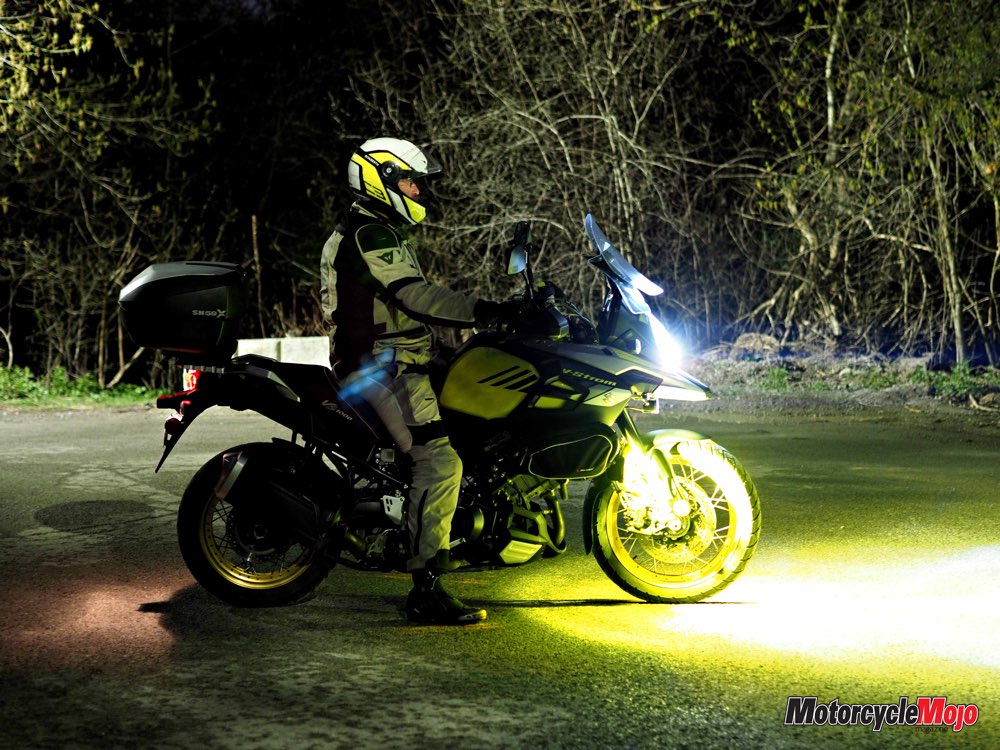
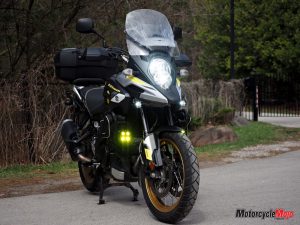
As for the lights themselves, they are impressive in most ways. For example, the combination of four 10-watt LEDs per light and the Selective Yellow lenses (clear and amber are also available) produces the most conspicuous daytime driving light I’ve ever seen. I used to run a modulated headlamp, which, although it succeeded in its purpose, also managed to piss off a lot of motorists. No longer. These Denalis make me and my V-Strom unmissable, even in the brightest daylight.
In terms of nighttime illumination, the D4s rate somewhere between good and quite good, depending on how you configure them. The Denalis, like most auxiliary driving lights available for motorcycles, get their beam pattern by lenses placed over the lights (rather than the inner reflectors like OEM headlights do). With all four LEDS in each light sporting the “spot” lens, the D4s are pretty darned impressive. The alternative, two “spots” and two “wide” lenses per assembly, is less impressive – not adding enough high beam to really see dramatically farther down the road, yet not adding enough side illumination to constitute an effective cornering light. And Denali doesn’t offer a lens with all four LEDs in a wide orientation, something I was really looking forward to testing because I got my sweaty hands on some…
Laser Driving Lights
Yup, lasers. Beam me up Scotty stuff. Built with laser technology from SLD Laser, Baja Designs, famous for the racing buggy lighting, offers two laser products: the tiny – about 50 mm square – S1 with one 15 watt laser in each; and the S4 with four of them mounted in one still fairly compact housing. And, as proof of that lumens-aren’t-everything theory, the single bulb S1 boasts but 500 lumens and yet will throw a beam half a mile down the road. The Denalis’ four 10-watt LEDs, by contrast, promise 4,375 lumens each, but don’t have anywhere near the “reach” of the teensy S1s.
That’s because of the second-most important criterion of a light’s usefulness: lux. Officially, lux is a measure of luminous flux per unit area. A simpler way to look at it is the number of lumens a light puts out per square metre. In even more basic terms, lux means lighting density. So, for example, one of those poorly placed but high-powered LEDs I mentioned before that scattered light hither and yon would have low maximum lux. Another light, with less luminance but concentrating its light in a tightly controlled beam, might have more lux.
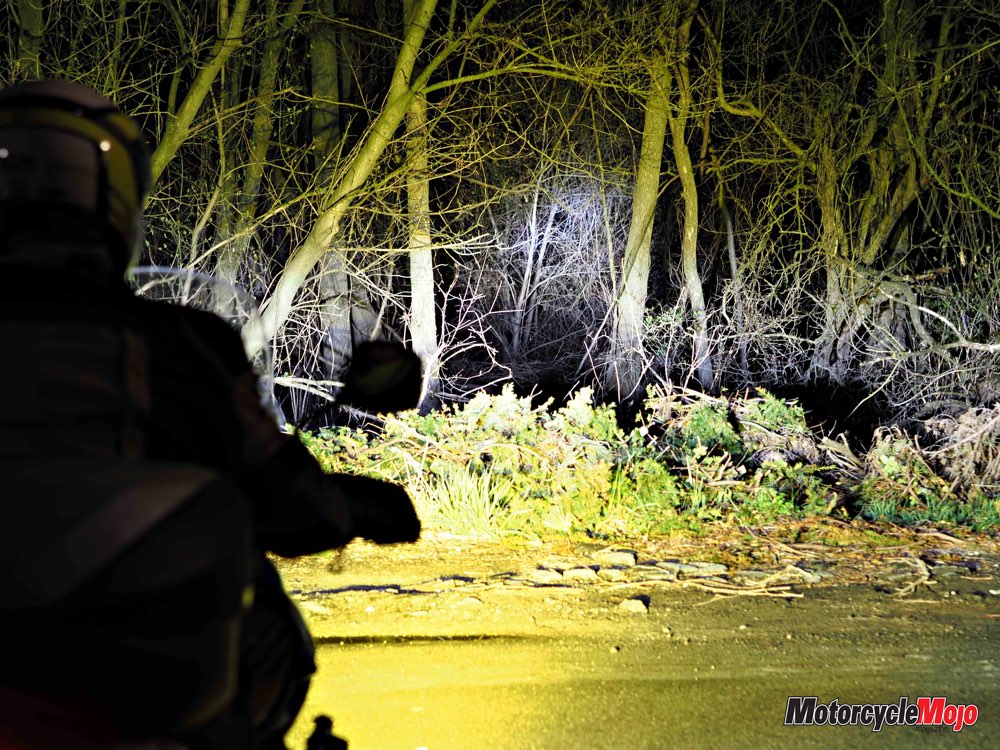
And there is no light in motorcycling that concentrates its beam more tightly than Baja’s laser lights; the S1 lights up the road farther ahead than anything I have tested. We’re talking twice as far as the Denalis and significantly farther than any stock headlamp, LED or no. It’s uncanny to be riding in the pitch dark and able to see almost as far ahead as you might in broad daylight.
As good as lasers sound, they aren’t perfect. Indeed, such lighting is actually quite specialized. As far as these S1s can throw a beam, their pattern is incredibly narrow. Even at that half a mile down the road, their 1.5-degree focus is barely two lanes wide. Yes, you can see the road far ahead, but only the road. On a deserted twisty road with absolutely no streetlights and not even the moon to point the path ahead, they are a godsend; on highways with lighting and oncoming traffic, I seldom turn them on.
Indeed, these are specialized items. I spend quite a bit of time prowling poorly lit northern Quebec back roads and wouldn’t be without them. If you spend most of your time in highly populated southern Ontario or British Columbia with their properly illuminated highways, these lights would be less useful. They were, after all, designed for Baja racing. Also, with such a tight beam pattern, aiming becomes absolutely crucial; just a few degrees of elevation makes the difference between lighting up the road and beaming messages into the sky.
They will also require some fabrication. Baja supplies the lighting mounts, but the wiring harness is universal auto. The company does have some motorcycle-specific wiring harnesses, but, as expected for a racing-oriented supplier, most are for motocross and competition enduro bikes. In the street bike category, only Yamaha’s Super Ténéré and a plethora of KTMs are supported. So, instead, I hacked another Denali wiring harness to fit (anyone interested in how can contact me through Motorcycle Mojo’s editor) in about an hour. And the latest technology is never cheap: the S1s retail for US$599, while the larger S4s cost US$999.
The Bottom Line
So, what have I learned from these past 12 months of photometric obsession? Here would be my recommendations were I now starting from scratch:
1. Without a doubt, if your headlights are old-school halogens, the easiest and most cost-effective improvement would be LED replacements for your stock high and low beams. They’ll give the biggest bang for the buck and, indeed, most people will be sufficiently pleased with the improvement that they will stop there. I highly recommend the CSP Minis – US$129 to US$139 from Headlight Revolution – which work well in a variety of reflectors, are well and truly plug-and-play and have the added benefit of dramatically cutting the load on your charging system. No doubt, through experimentation so typical of the people who shop LEDs online, you could find some equally commendable products. For those of you looking for a shortcut, these CSP Minis seem like an easy, surefire remedy.
2. Were I shopping for the easiest-to-install LED auxiliary lights with an emphasis in daytime conspicuity, I’d definitely shop Denali – and the D4s in particular – with the company’s Selective Yellow lenses. The build quality of the lights and the wiring is beyond reproach and there are numerous options – switches, mounts, etc. – that can only come from a company dedicated solely to the motorcycle industry. That said, the illumination is good but not great, especially with the Flood lenses installed. D4s cost $538.49 including wiring harness, but you will need to fork over $67.49 for the Data-Dim feature that allows you to wire the D4s to your bike’s high/low beam switch and a further $56.49 if you want the Selective Yellow lenses.
3. If I rode on poorly lit rural secondary roads, I’d strongly consider the Baja Designs S1s. No, they’re not cheap and, yes, you’ll need to put together a wiring harness (easily done from the wiring that Baja supplies, by the way). But their ability to throw light waaay down the road is simply unmatched. Besides, lasers are the future of auto and motorcycle lighting and they look so tremendously cool.
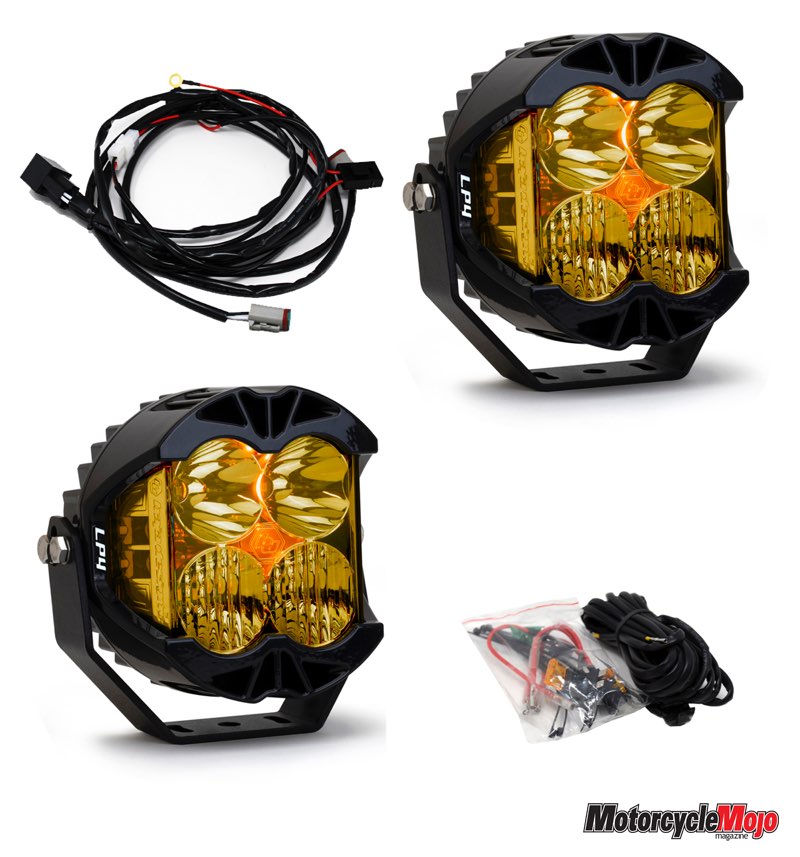
4. My final recommendation, however, is for a product I did not test. If I were looking for one auxiliary light to add to my motorcycle that did it all, I’d have a long, hard look at Baja’s LP4 Pros (US$849). These are not without their compromises. For one thing, at 130 or so millimetres square, they are even larger than the Denalis. For another, they also suck back 75 watts each – not an inconsiderable current draw for some motorcycle charging systems. And, as I said, you will have to massage the wiring a little. But they are a novel combination of spot- and floodlights – unlike Denali, Baja uses different LEDs for different lighting needs rather than just changing the lenses – and the LP4 Pros incorporate Integrated Peripheral Technology which is a fancy way of saying they have additional LEDs built into the side of the housing that add illumination much in the way that modern “cornering” lights do. If they function as well as the S1s I tested, they could really be the bees’ knees.


Thanks for Reading
If you don’t already subscribe to Motorcycle Mojo we ask that you seriously think about it. We are Canada’s last mainstream motorcycle magazine that continuously provides a print and digital issue on a regular basis.
We offer exclusive content created by riders, for riders.
Our editorial staff consists of experienced industry veterans that produce trusted and respected coverage for readers from every walk of life.
Motorcycle Mojo Magazine is an award winning publication that provides premium content guaranteed to be of interest to every motorcycle enthusiast. Whether you prefer cruisers or adventure-touring, vintage or the latest models; riding round the world or just to work, Motorcycle Mojo covers every aspect of the motorcycle experience. Each issue of Motorcycle Mojo contains tests of new models, feature travel stories, compelling human interest articles, technical exposés, product reviews, as well as unique perspectives by regular columnists on safety or just everyday situations that may be stressful at the time but turn into fabulous campfire stories.
Thanks for considering a subscription. The Mojo team truly appreciates it.
